This is an AI-assisted spec, workflow, not a commission-based project. I combine AI tools with traditional design and motion graphics/video production tools such as Adobe Photoshop, After Effects, and Premiere Pro. The intention is to showcase my skills and knowledge of various AI tools and models, such as Higgsfield AI, Kling AI, Nano Banana Pro, Midjourney, Suno, and others.
In this post, I share my process for using generative AI tools to create a cinematic Jeep reveal advertisement. I previously described a method I used to produce a holiday-themed Jeep commercial set in a snowy landscape. In that project, I built a reference image from an exact model and arranged a 3x3 contact sheet, showcasing a nine-cell storyboard with different camera angles and focal lengths of the Jeep, all captured in one location. Here, I will extend that explanation by detailing how I created a scene with multiple environments featuring the same Jeep and added a second model.
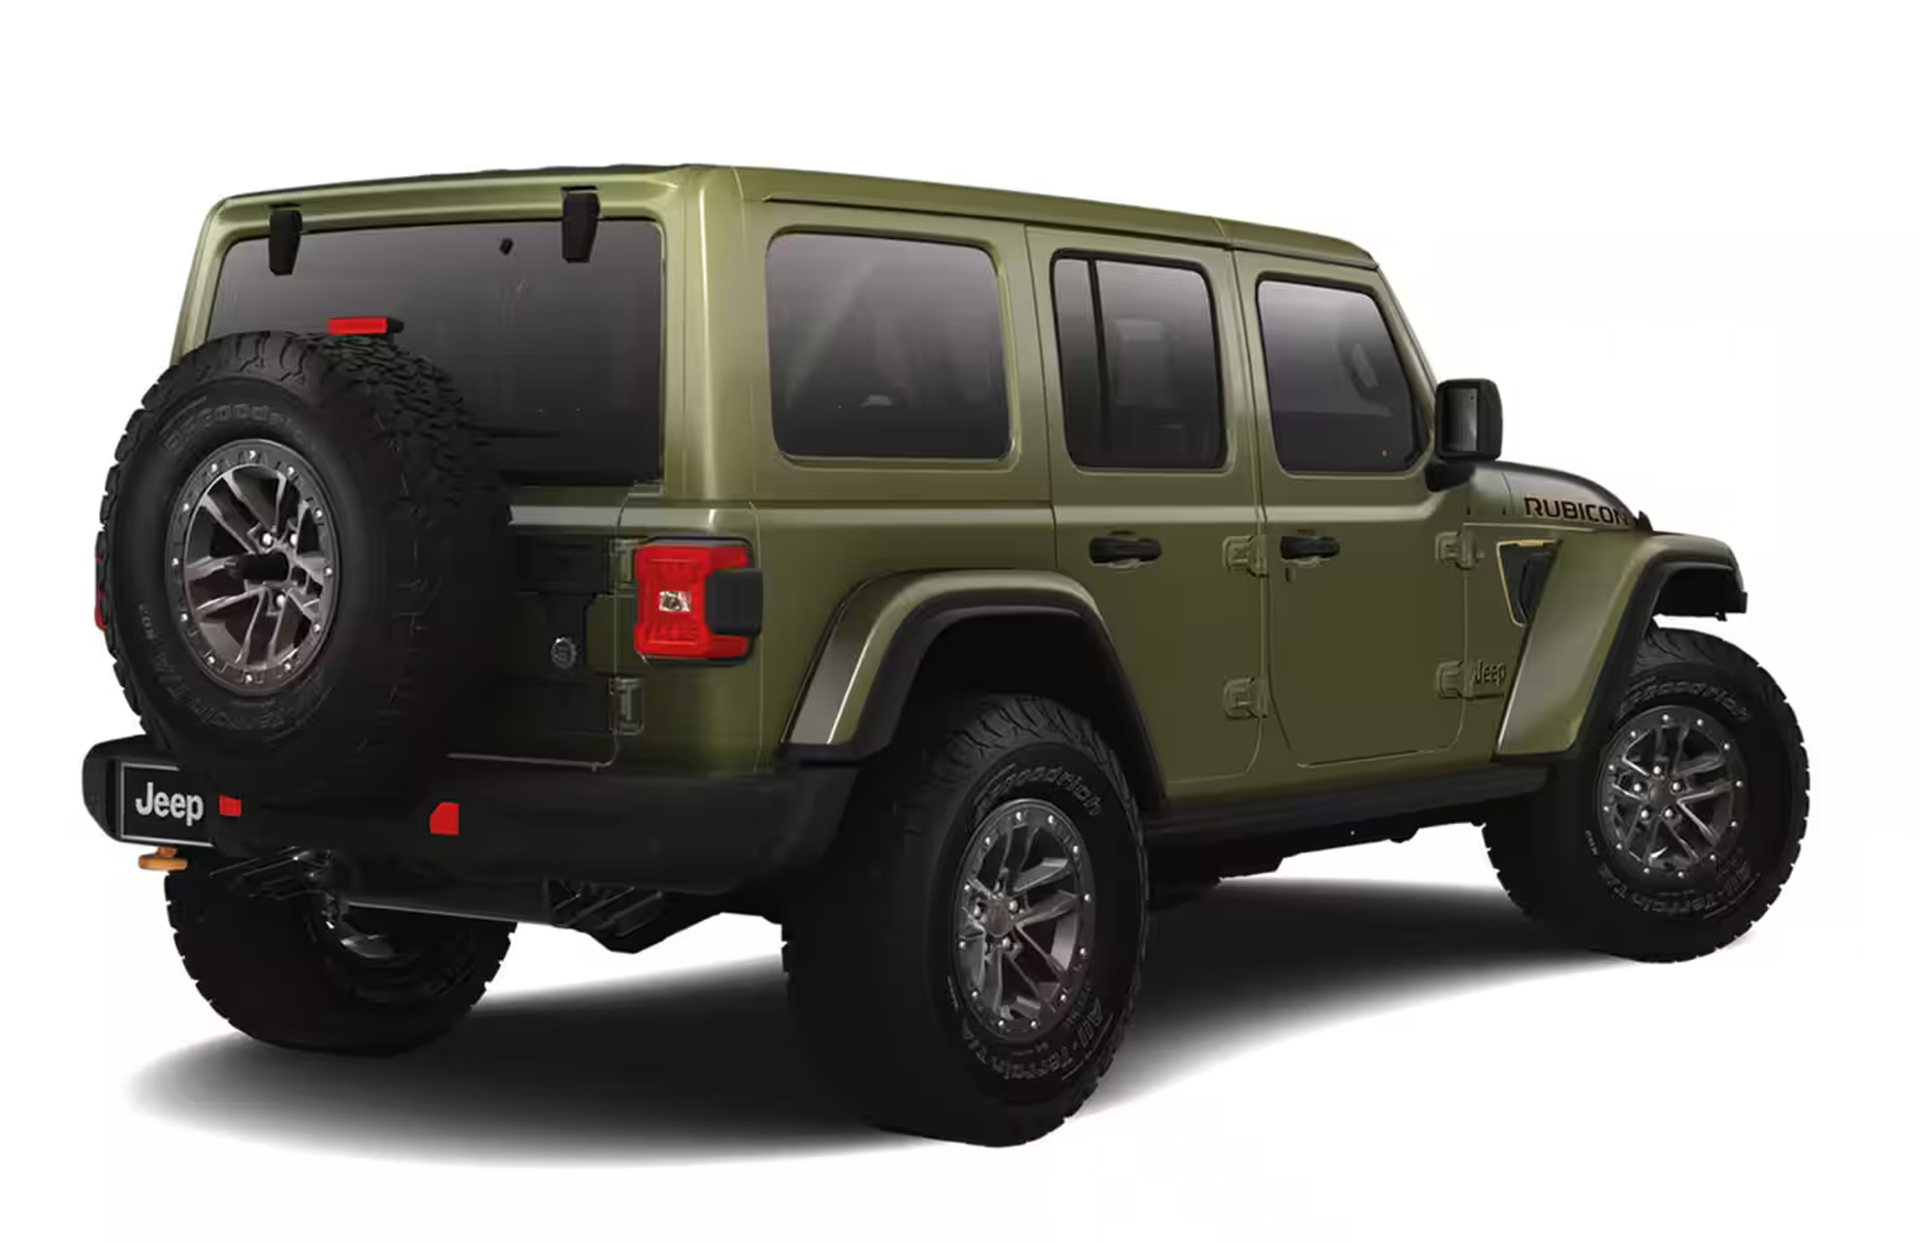
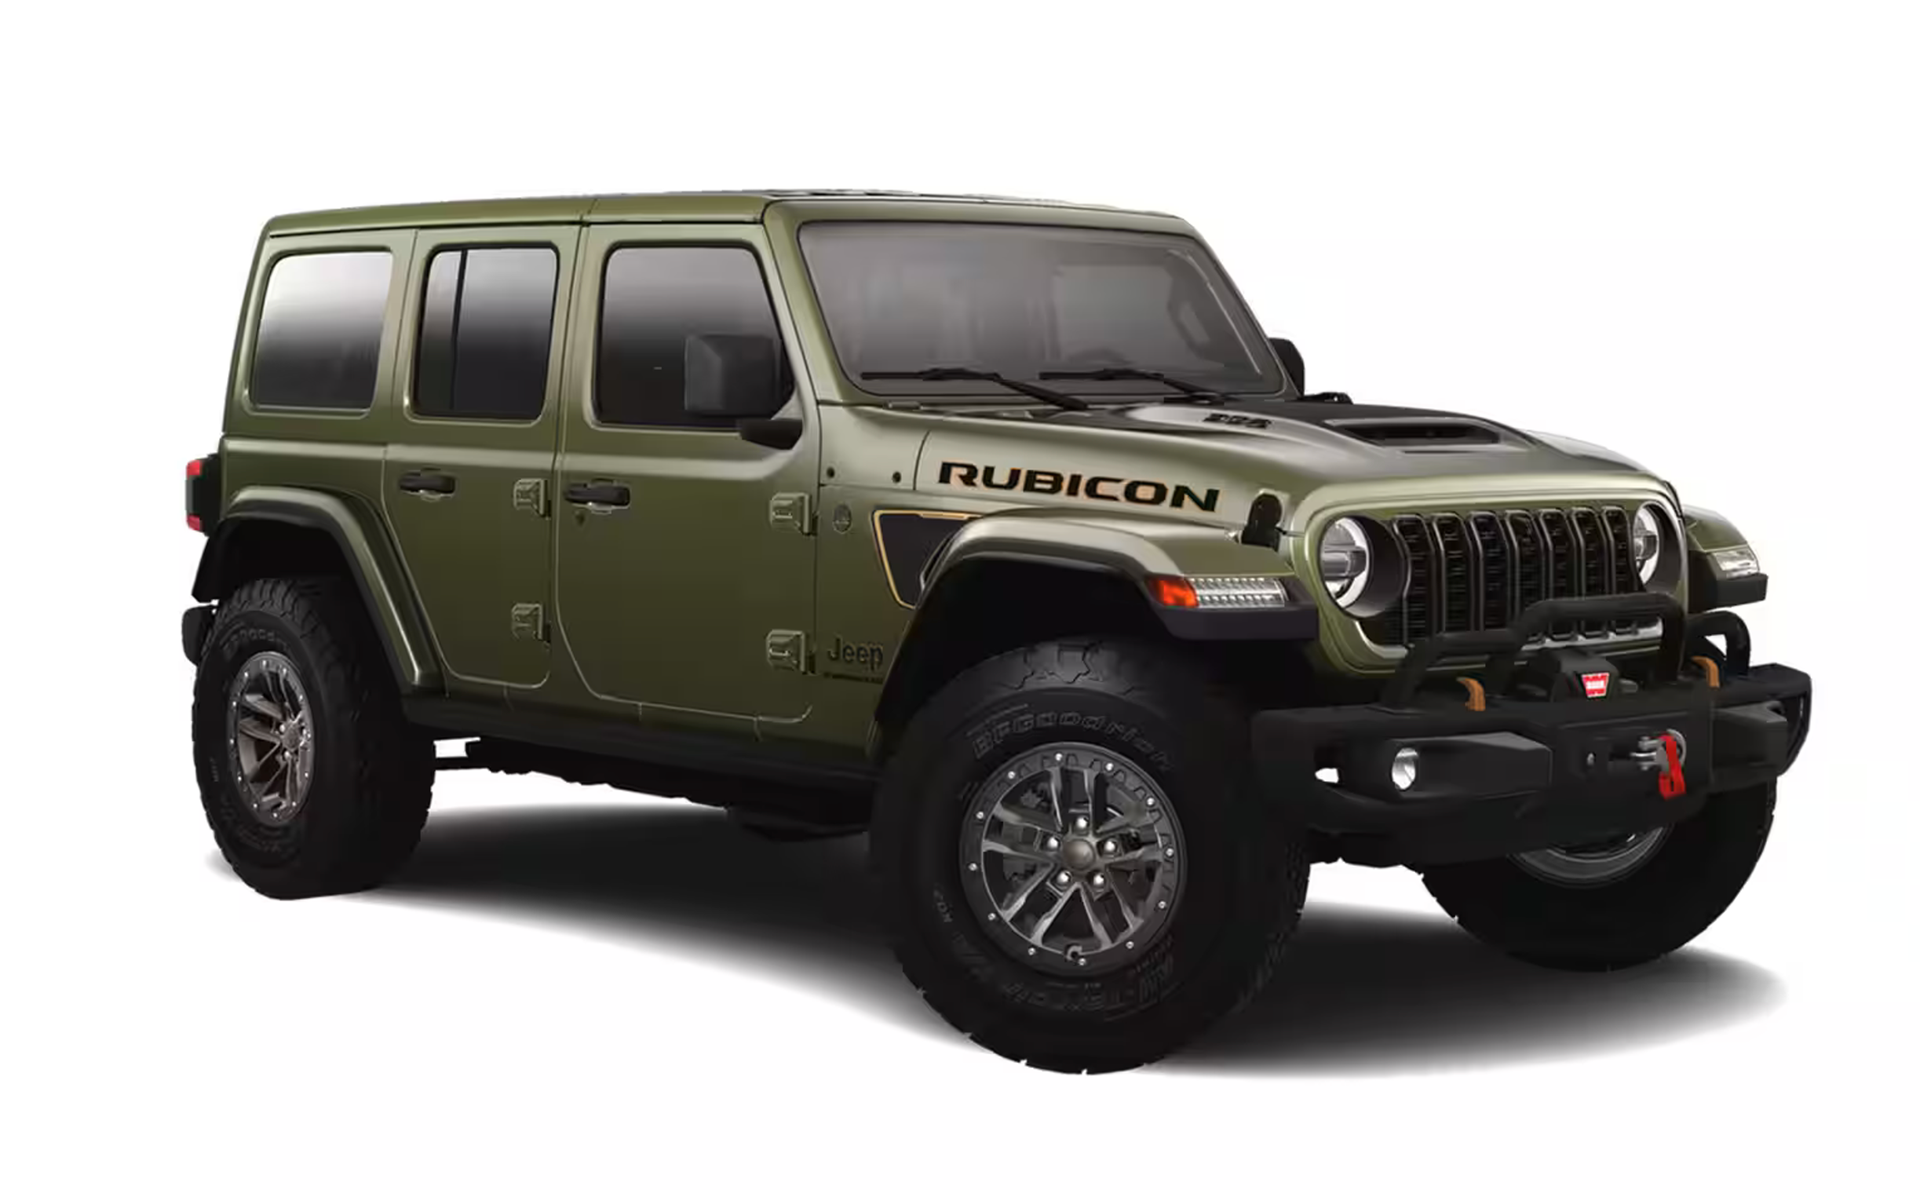
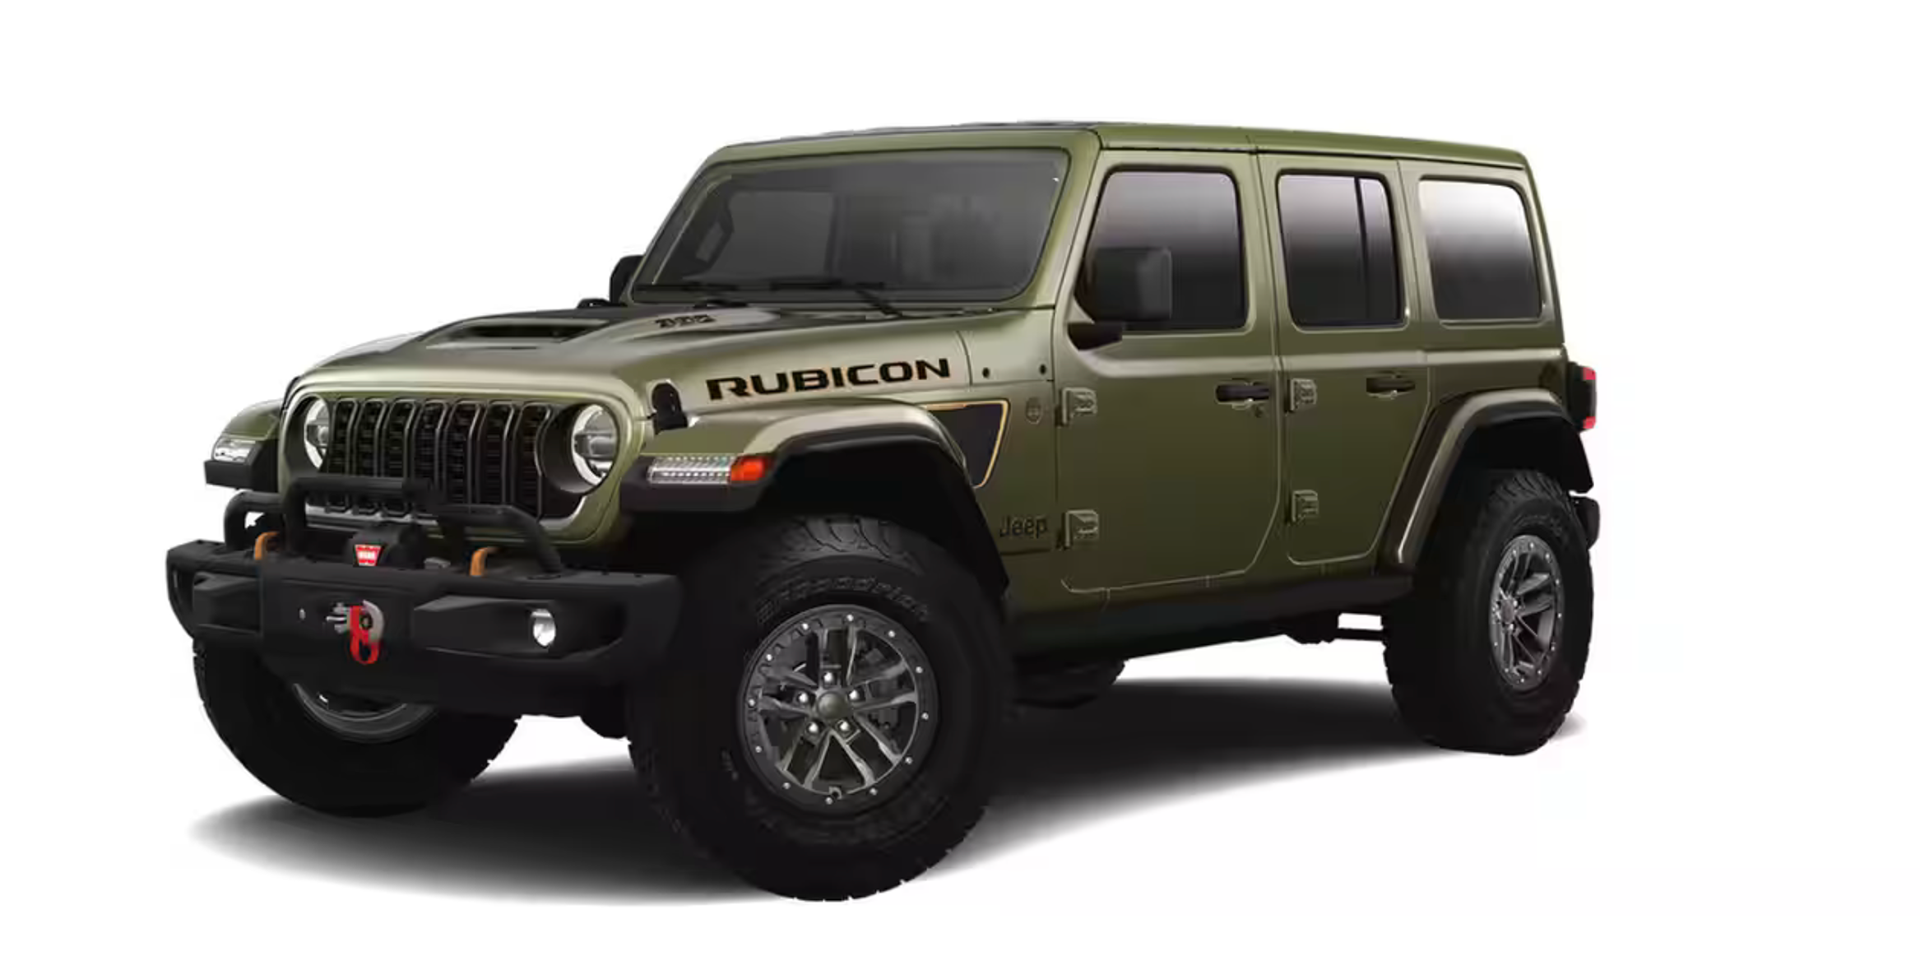
To begin, I sourced images of the Jeep I wanted to use, ensuring I captured it from multiple angles. It’s better to choose images on a white background, as these confuse AI less than images in a particular location, especially if you are trying to control the setting and environment.
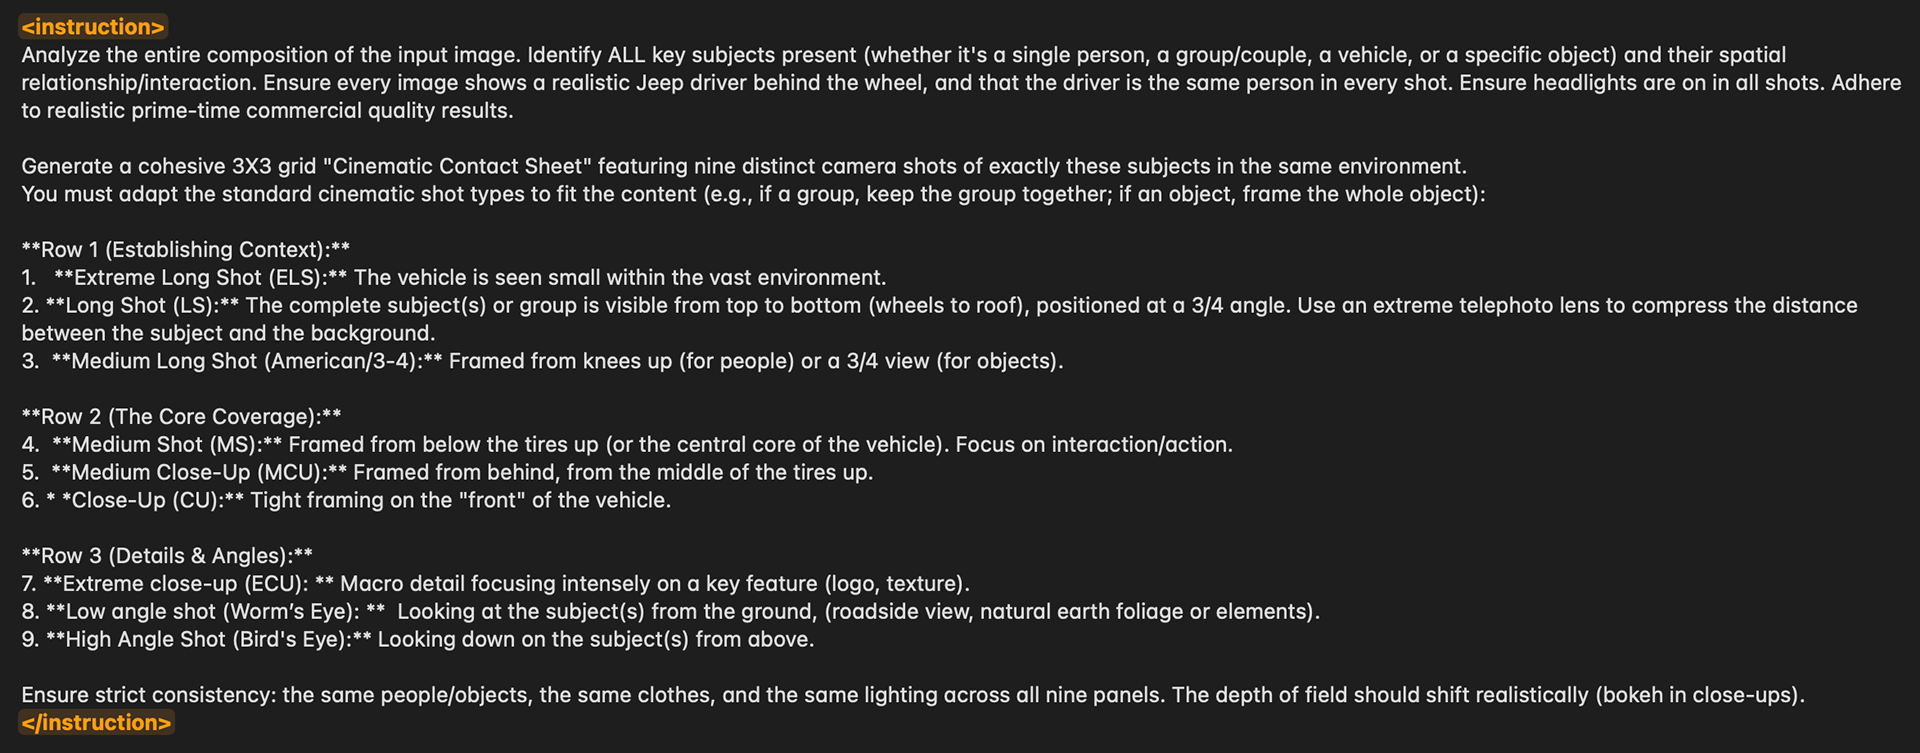
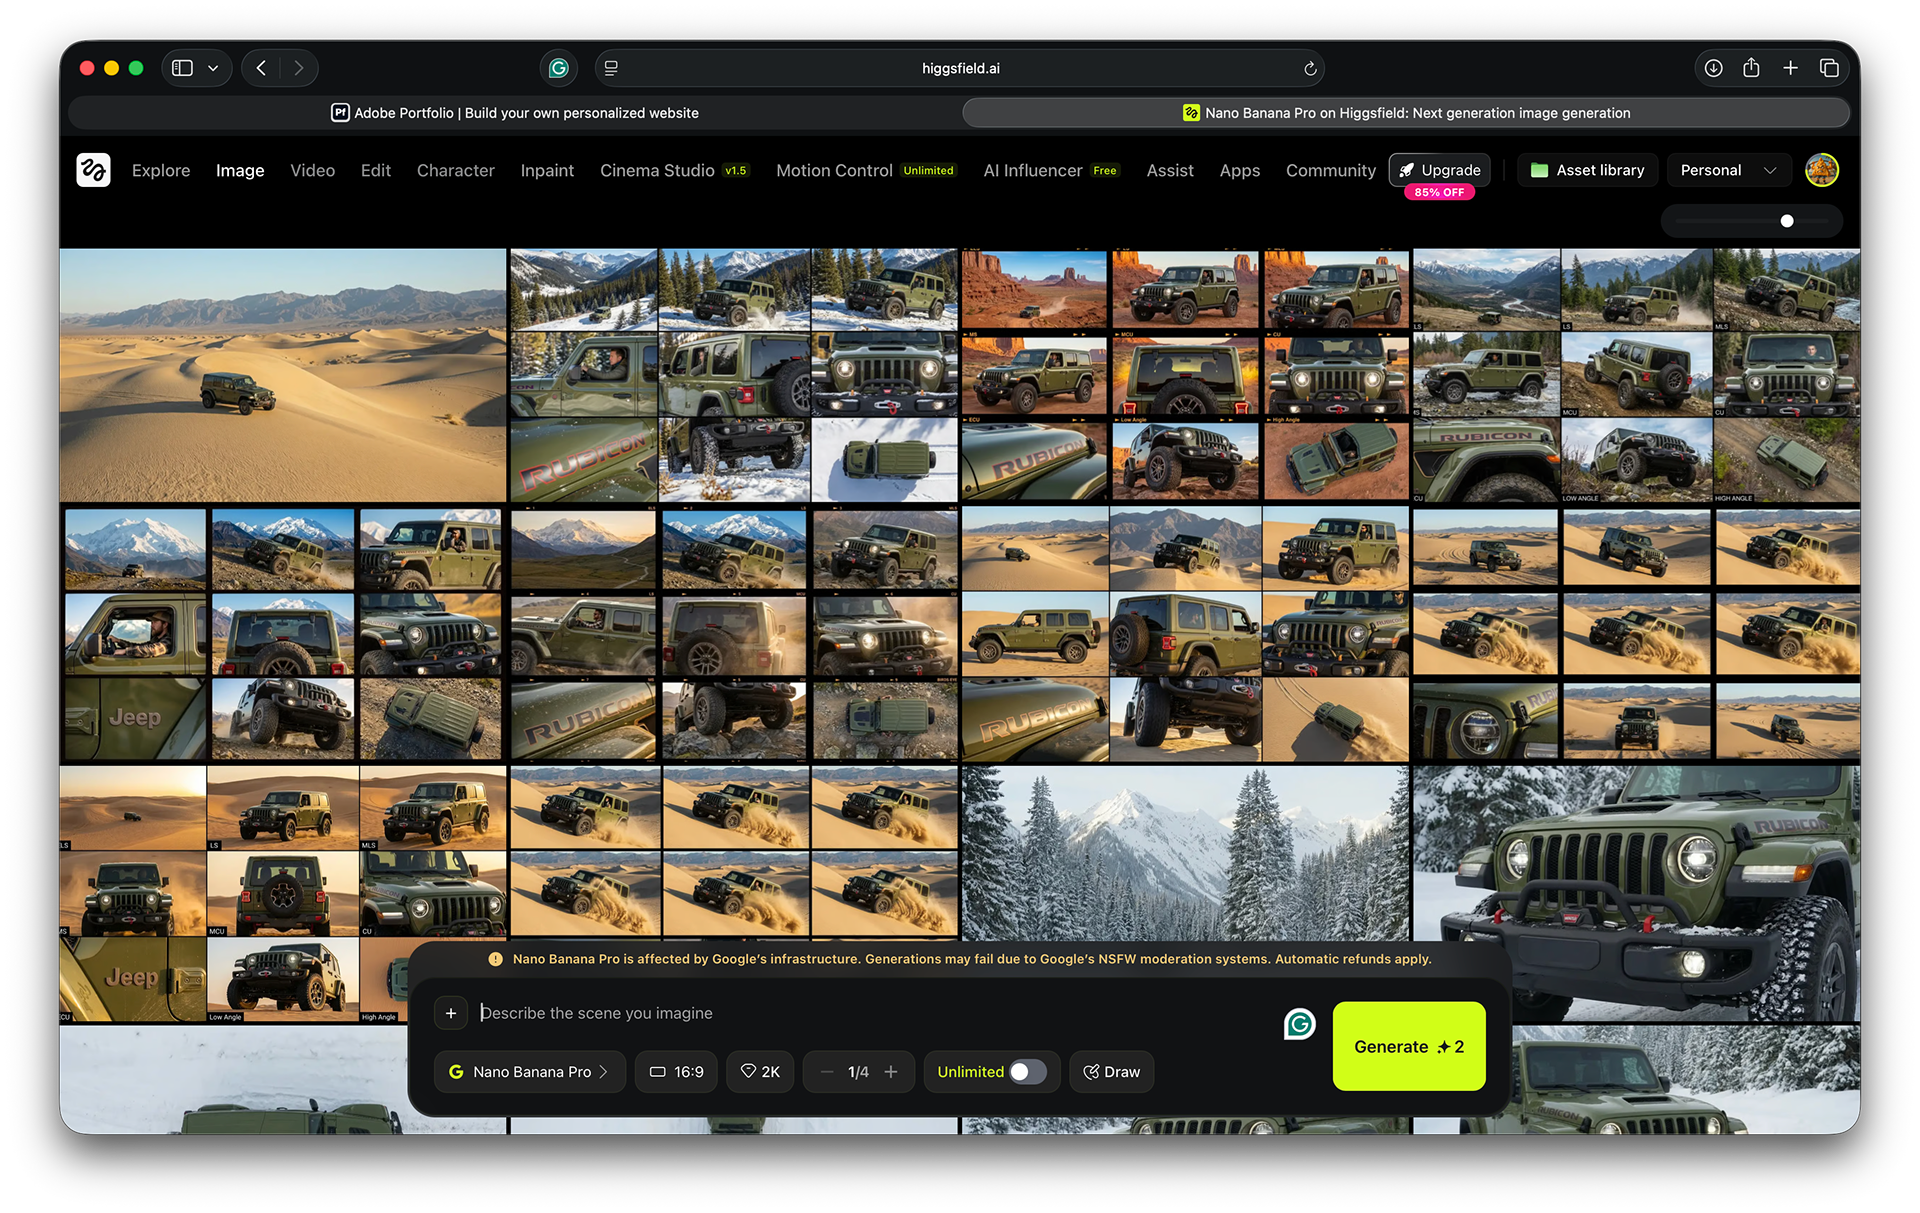
For this ad concept, I wanted to feature six U.S. National Parks as the primary locations where the Jeep will be traversing. I started by using the product images as a reference image in the Images tab of Higgsfield AI web app (with the model set to Nano Banana Pro, 2K resolution, and a 16:9 aspect ratio) to generate an AI image of the Jeep at a specific National Park. I then repeated the process for each desired National Park to create six to eight different AI images of the Jeep in those unique locations. Afterward, I used each of those AI-generated images as a reference to generate a 3x3 contact sheet grid with varying shot types, camera angles, and focal lengths, using the prompt below.
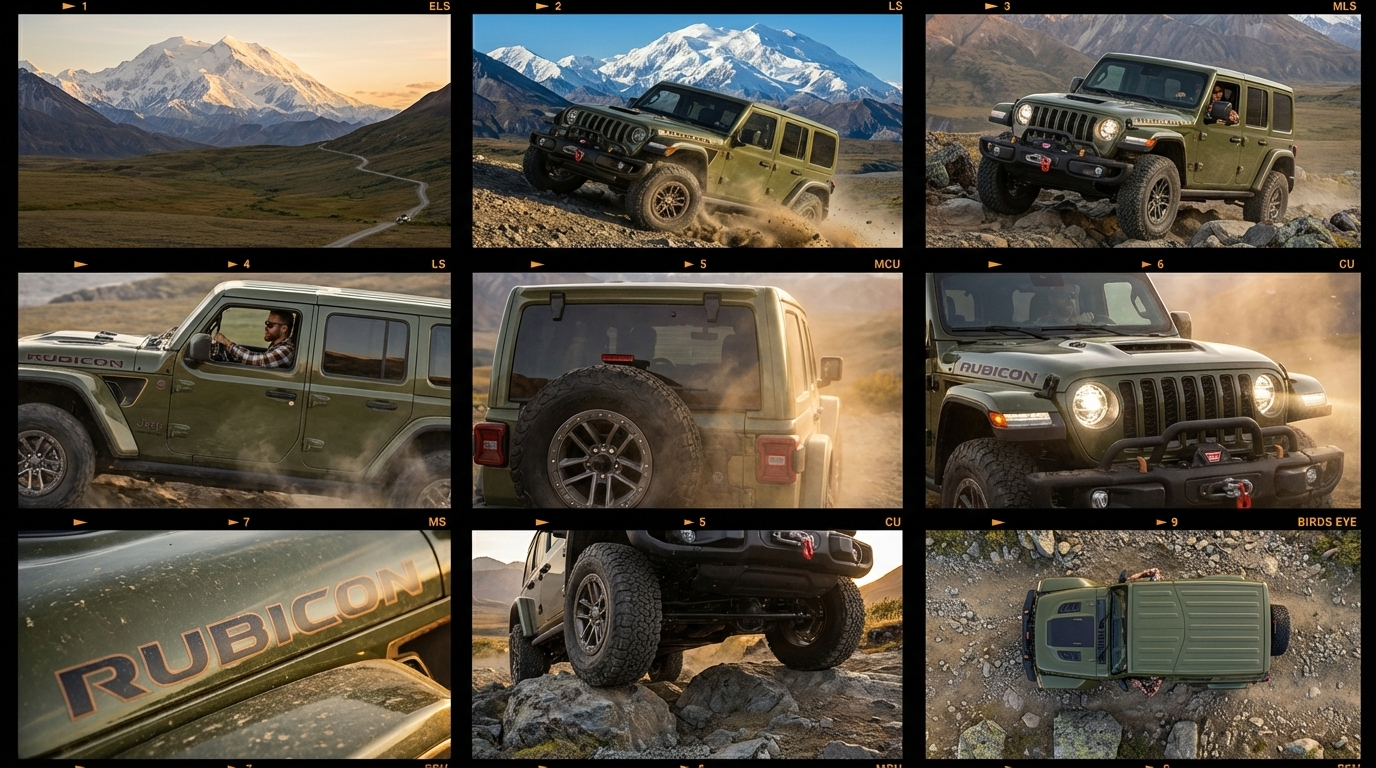
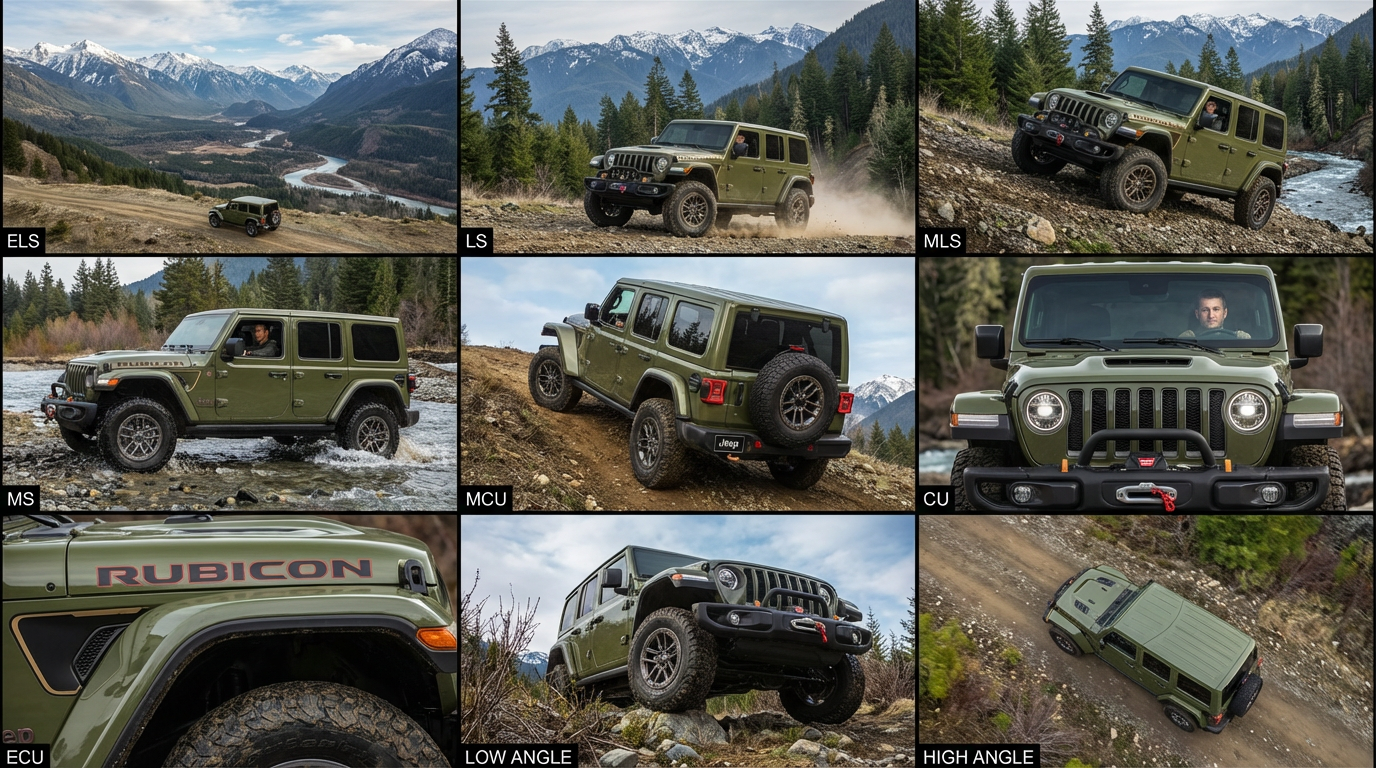
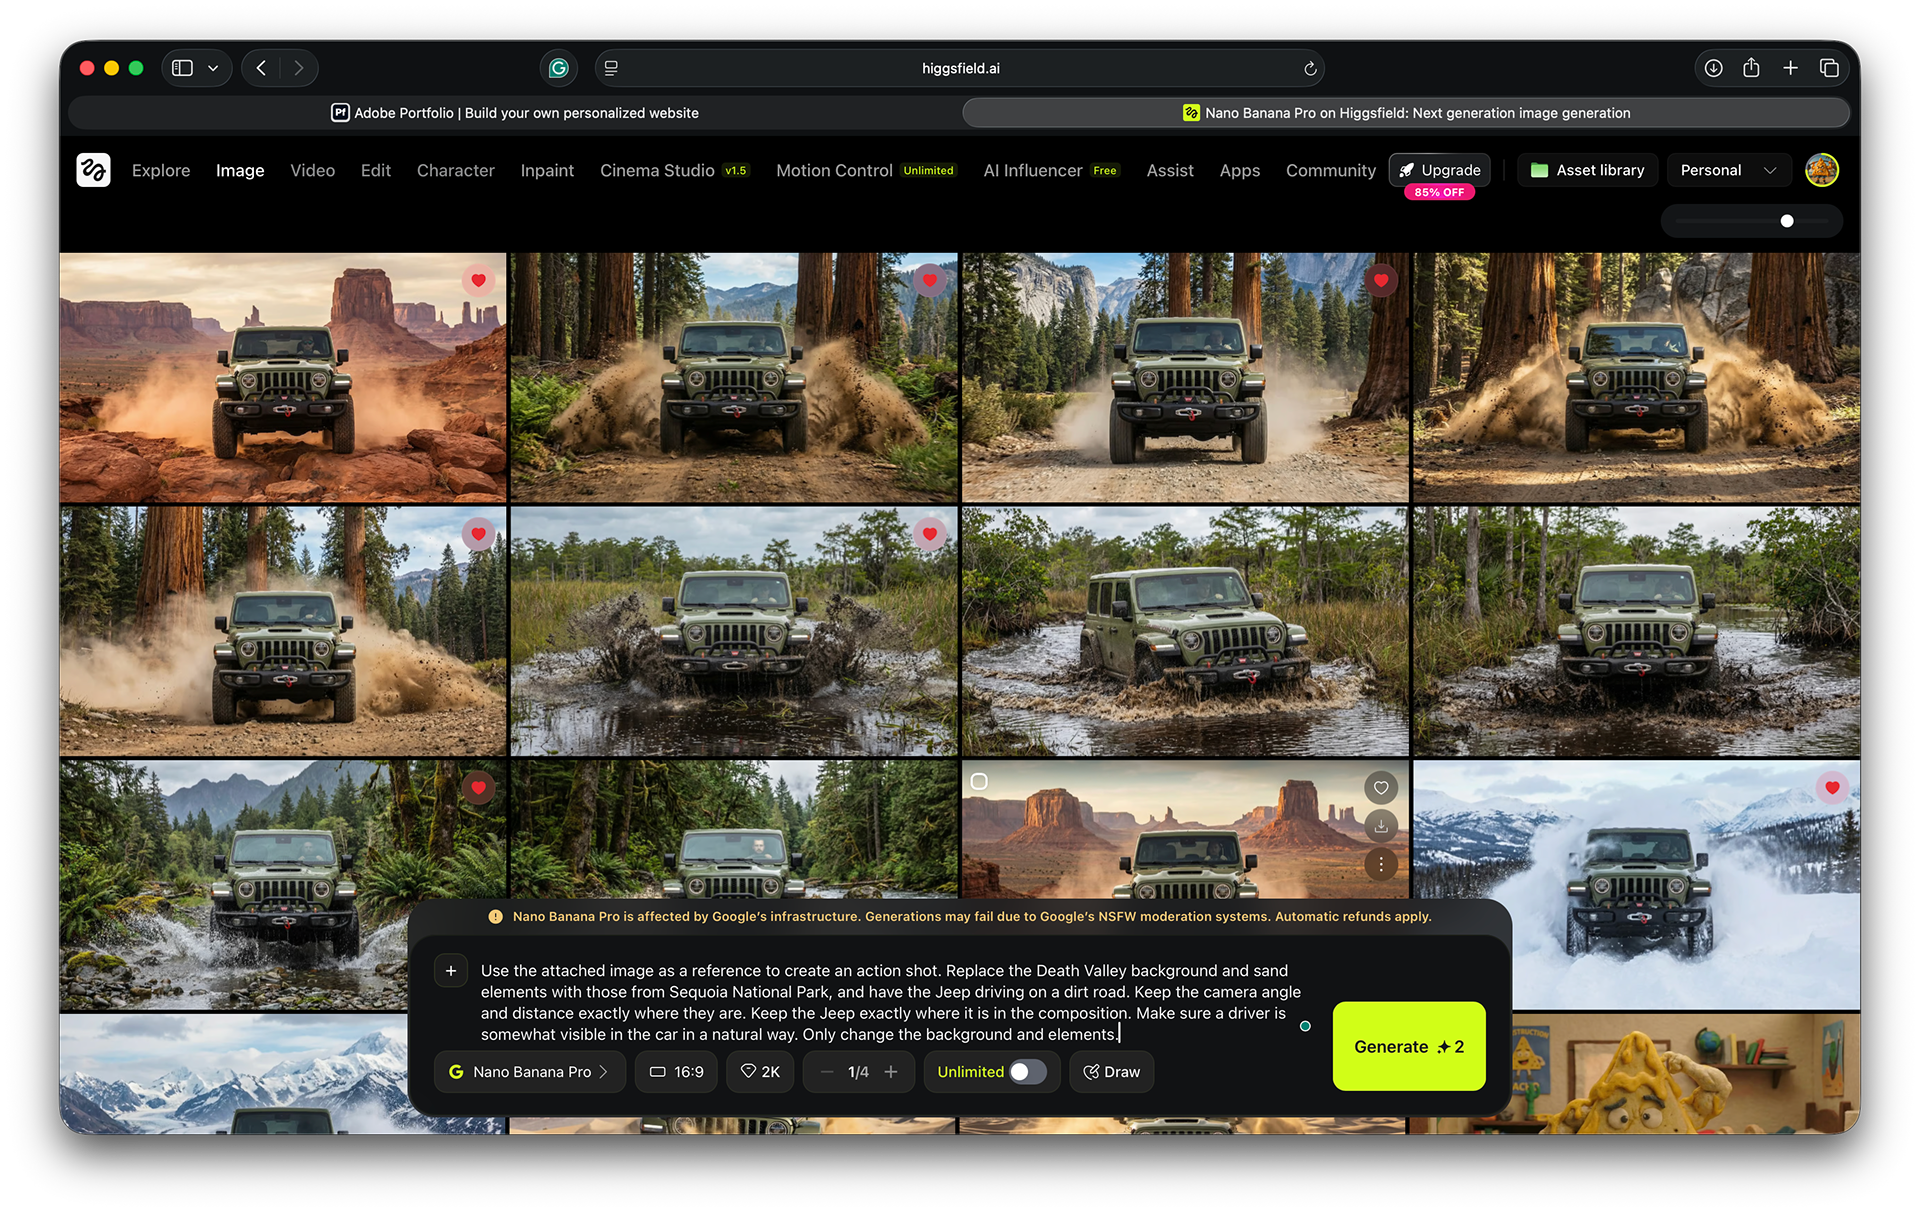
Next, I extract the desired frames from the contact sheet, evaluate how well my direction aligns with the prompt details, and consider whether any adjustments are needed. It’s advisable to generate several contact sheets for each location using Nano Banana Pro, as it doesn’t always produce perfect results the first time. Sometimes, the secondary or tertiary outputs have had better results.
After reviewing all contact sheets, I load each sheet as a reference image in Nano Banana Pro and instruct the AI to extract specific frames with simple commands, such as "Extract the image from row 1, column 1." The numbers specify the cell positions. Depending on the AI's capabilities, it may occasionally hallucinate and regenerate an image from the selected one. Reloading the webpage, re-uploading the contact sheet, and trying again can help. However, on some occasions, I have found that AI hallucinations sometimes produce surprisingly good results.
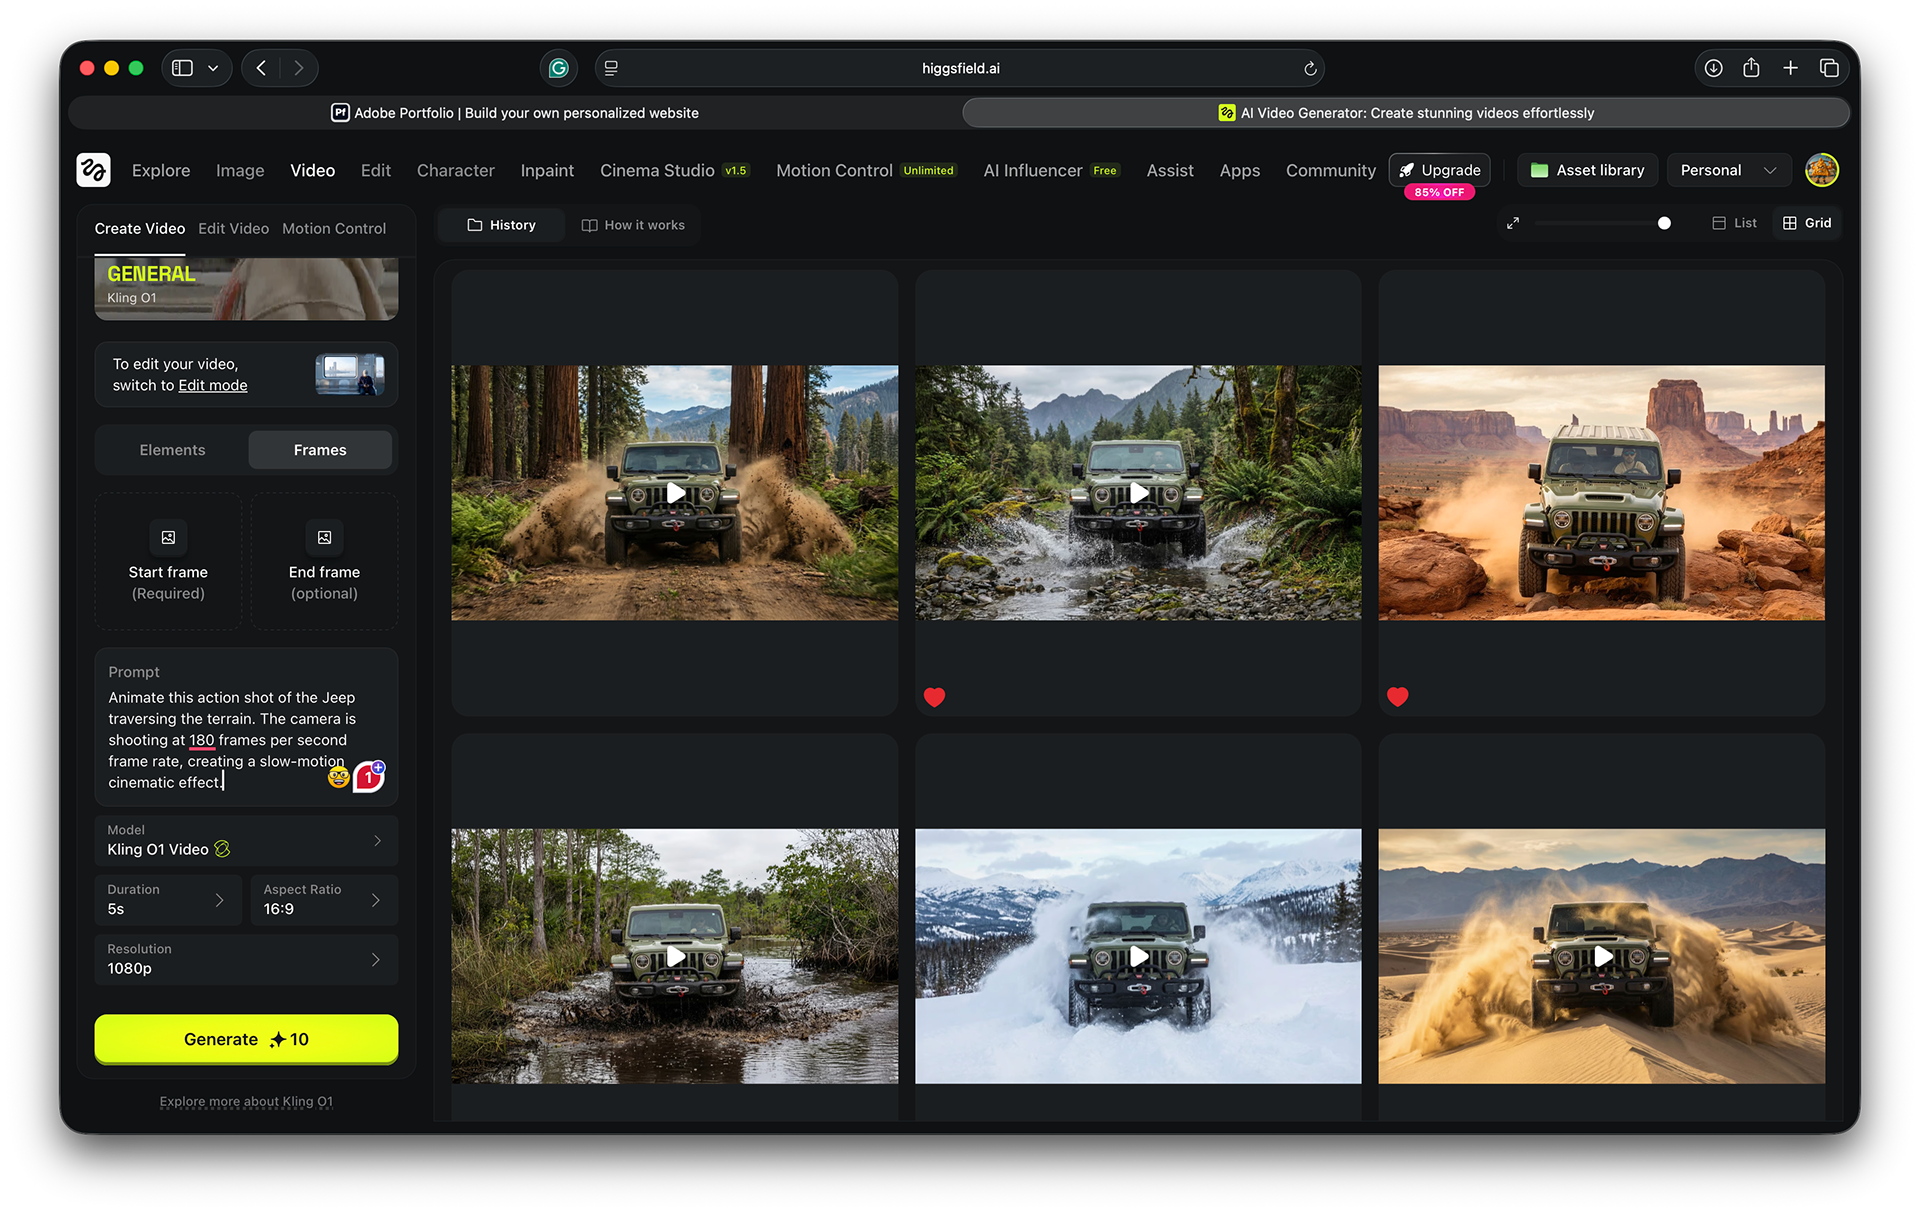
Once all the frames have been extracted, I like to organize them into project-specific folders on my drive. However, you can work directly in Higgsfield without downloading by selecting the desired frames, organizing them into a folder, and then adding them to the frame input in the Video tab. I recommend using the Kling O1 model to animate them.
In this instance, I decided to download them because it helps me manage all my assets and work more effectively.
Using the Kling O1 model, I uploaded each frame and provided descriptive prompts to animate them. For the action shot sequence, I prompted the model to use a 120 fps frame rate to create a slow-motion effect. This is also a good opportunity to experiment with the animation's appearance. Using other Kling models, such as 1.5, 2.1 Master, and 2.5 Turbo, allows adding a second frame to generate unique morphing animations. If you’re creating an animated character, Motion Control lets you upload a video of yourself or others in motion as a reference.
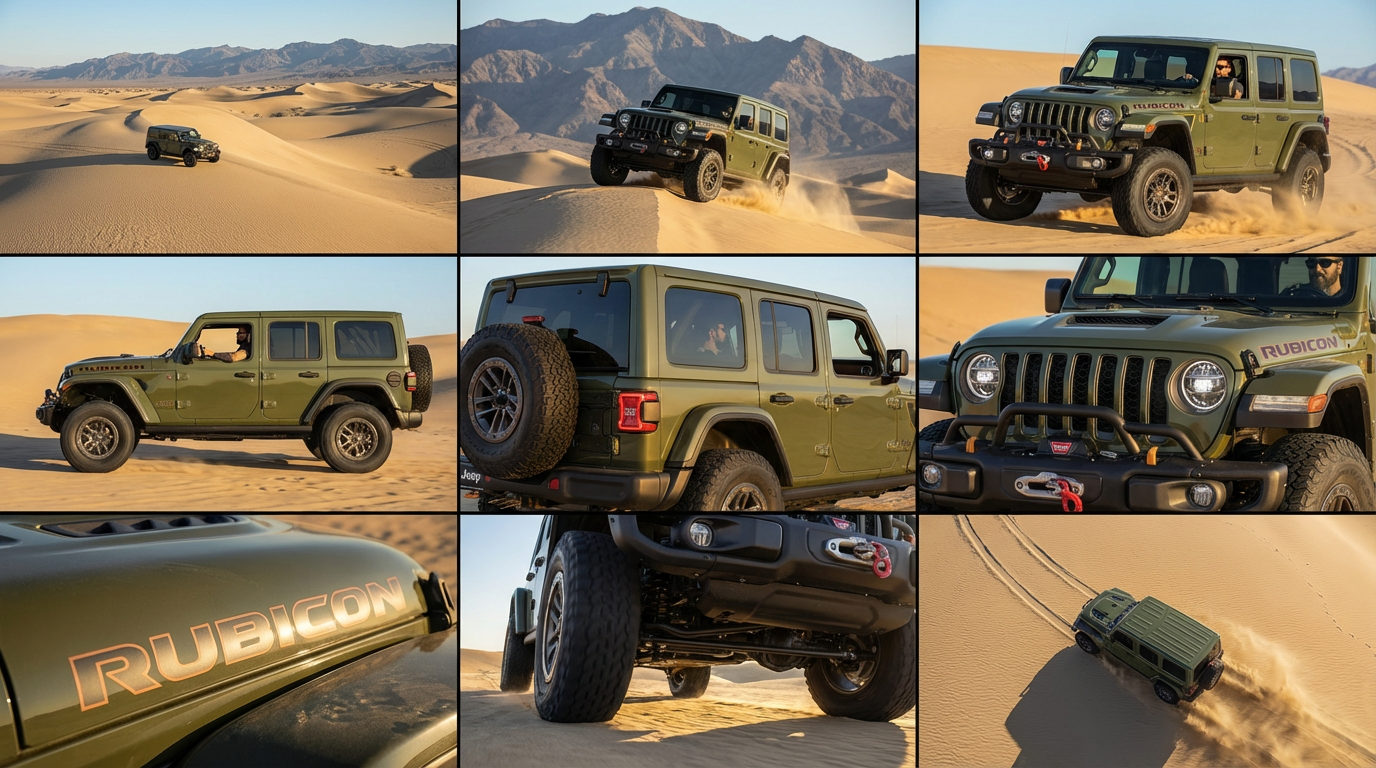
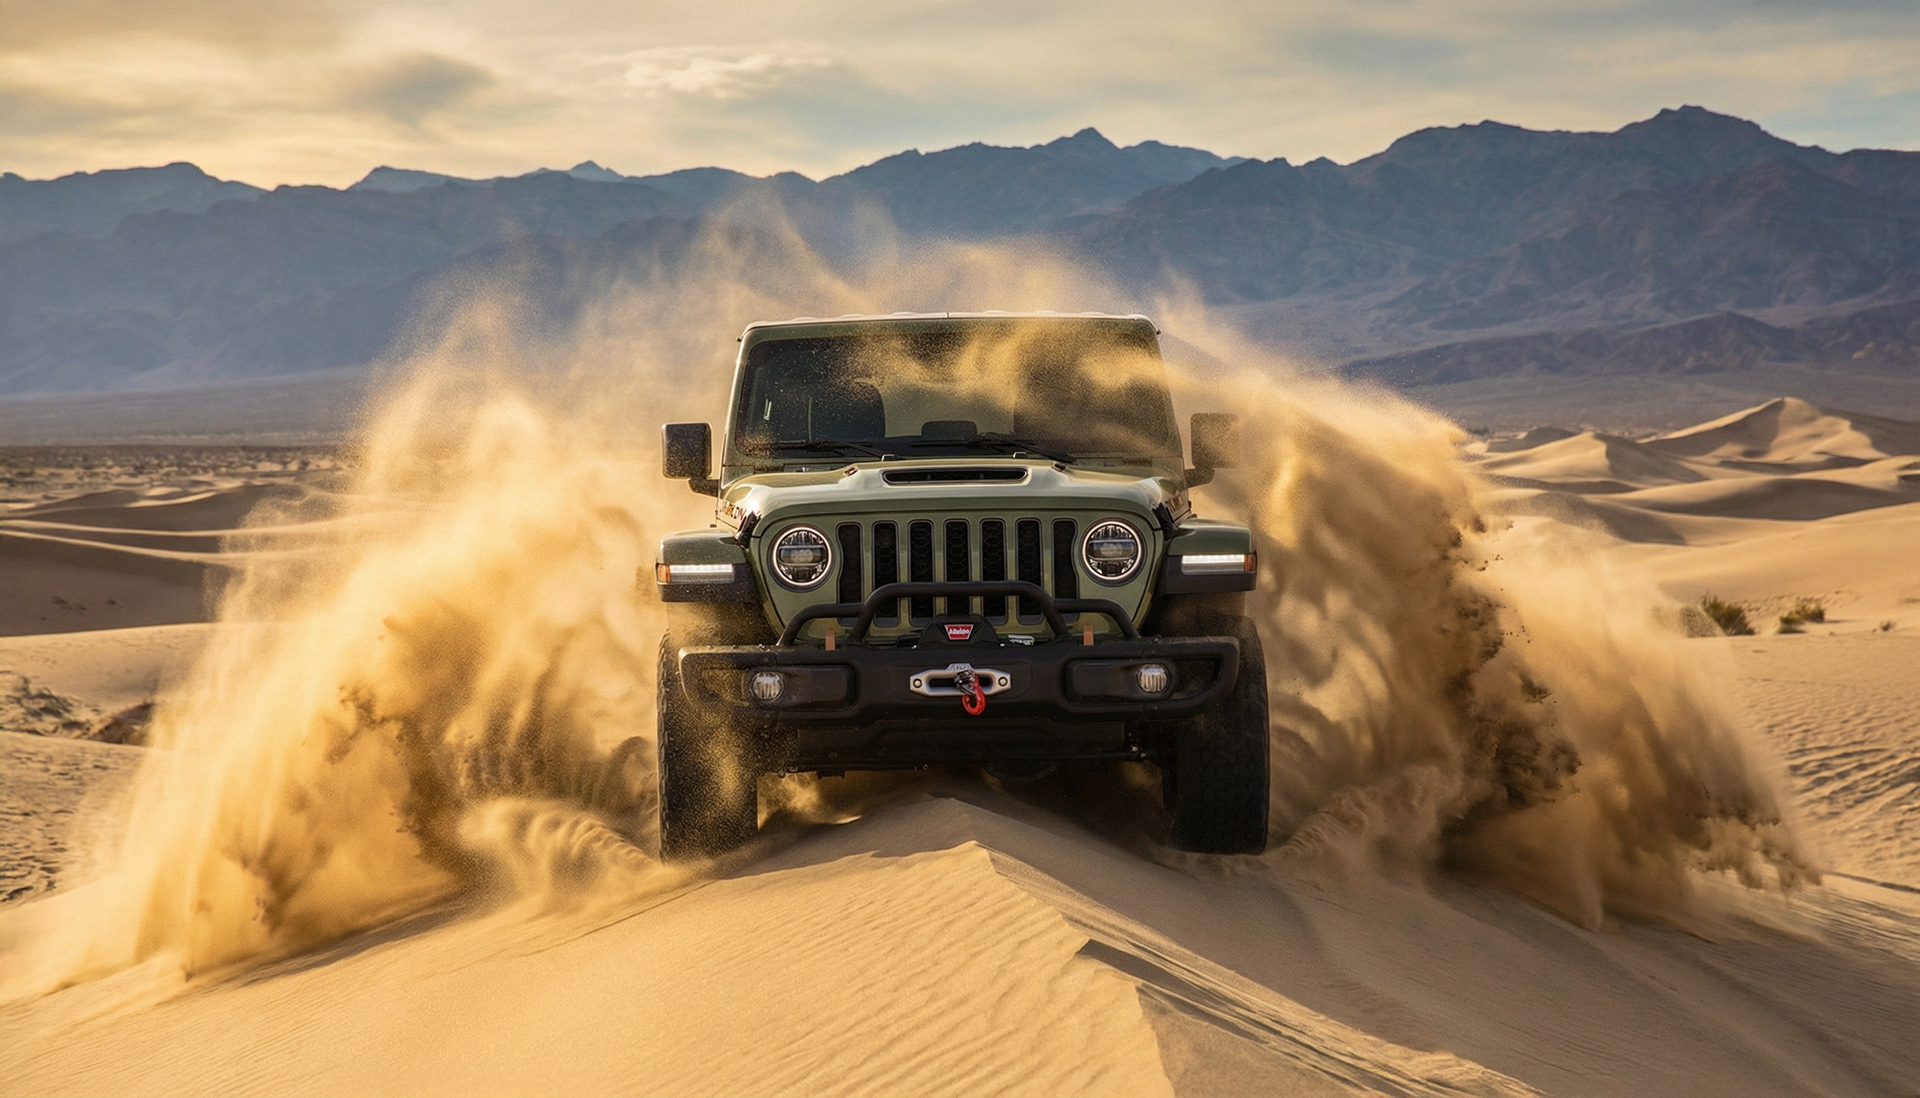
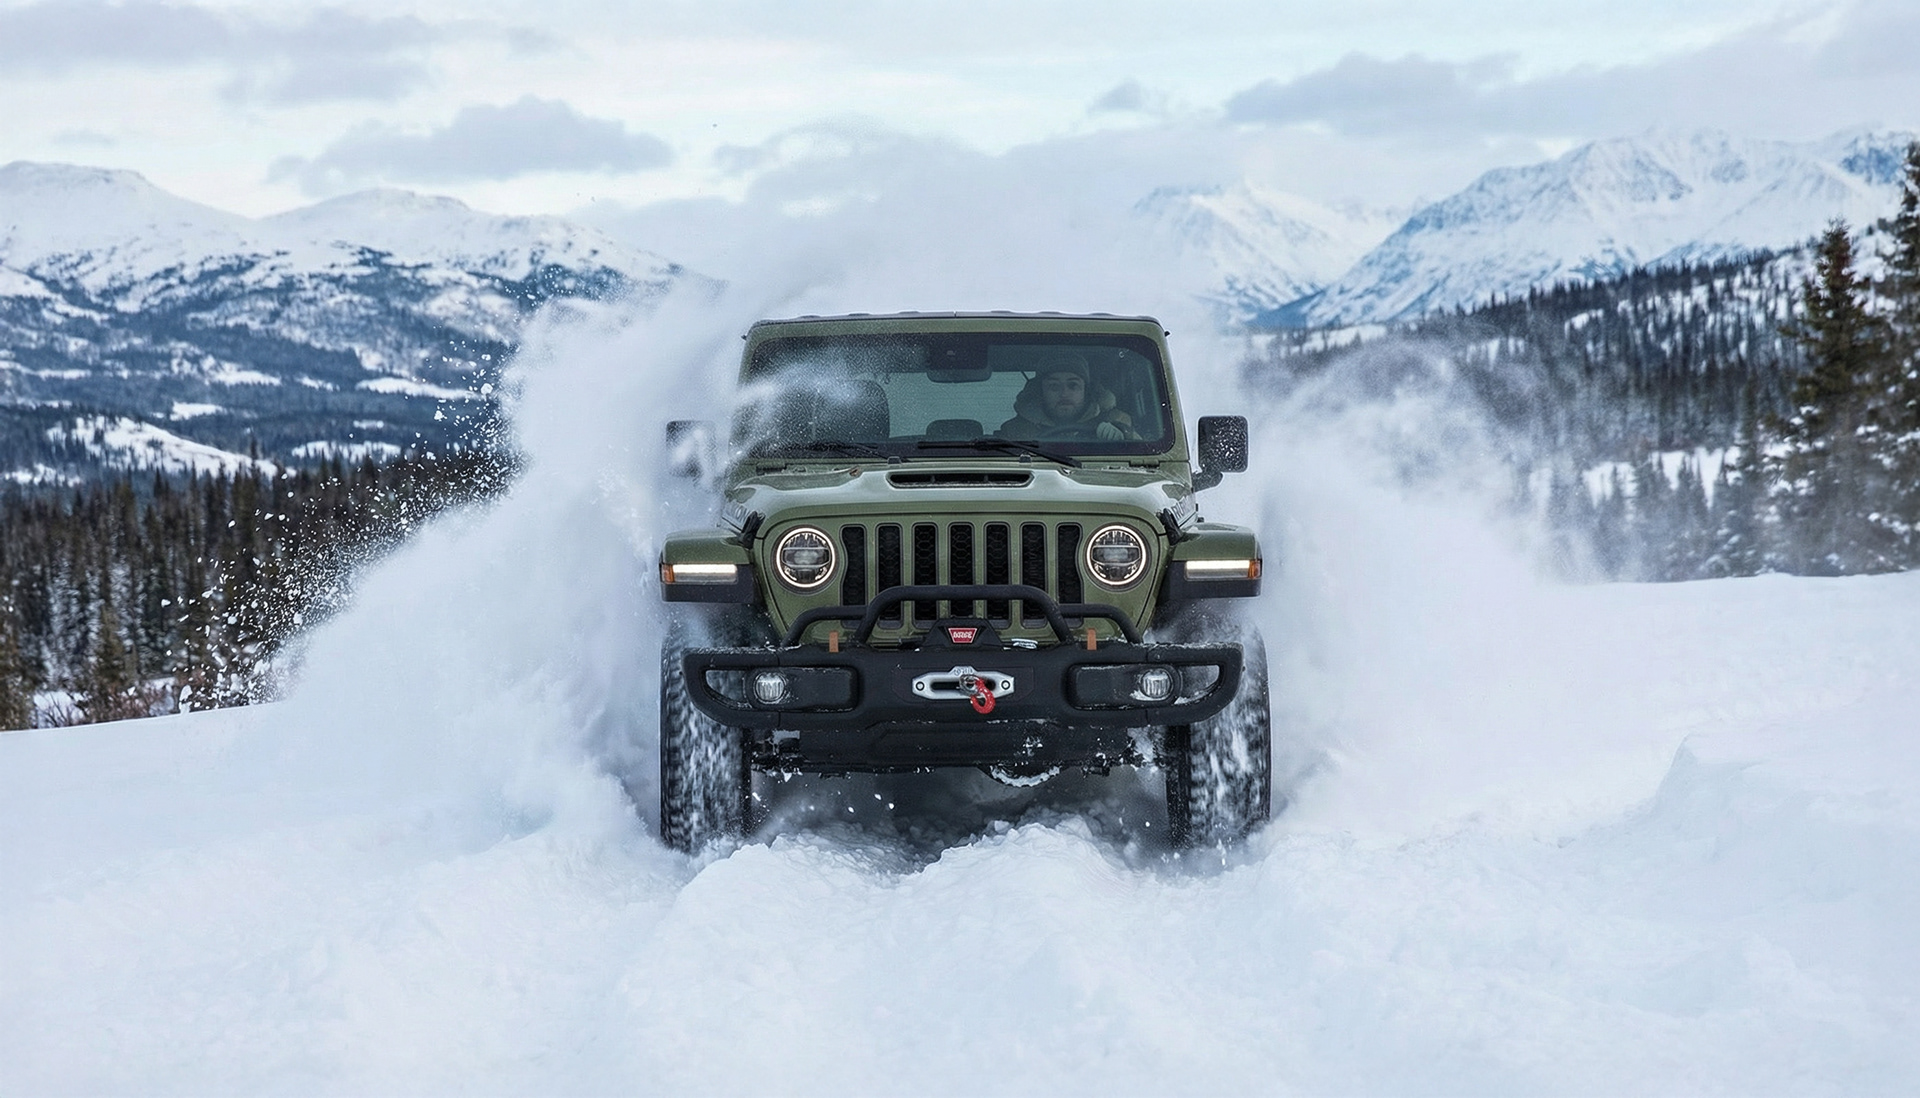
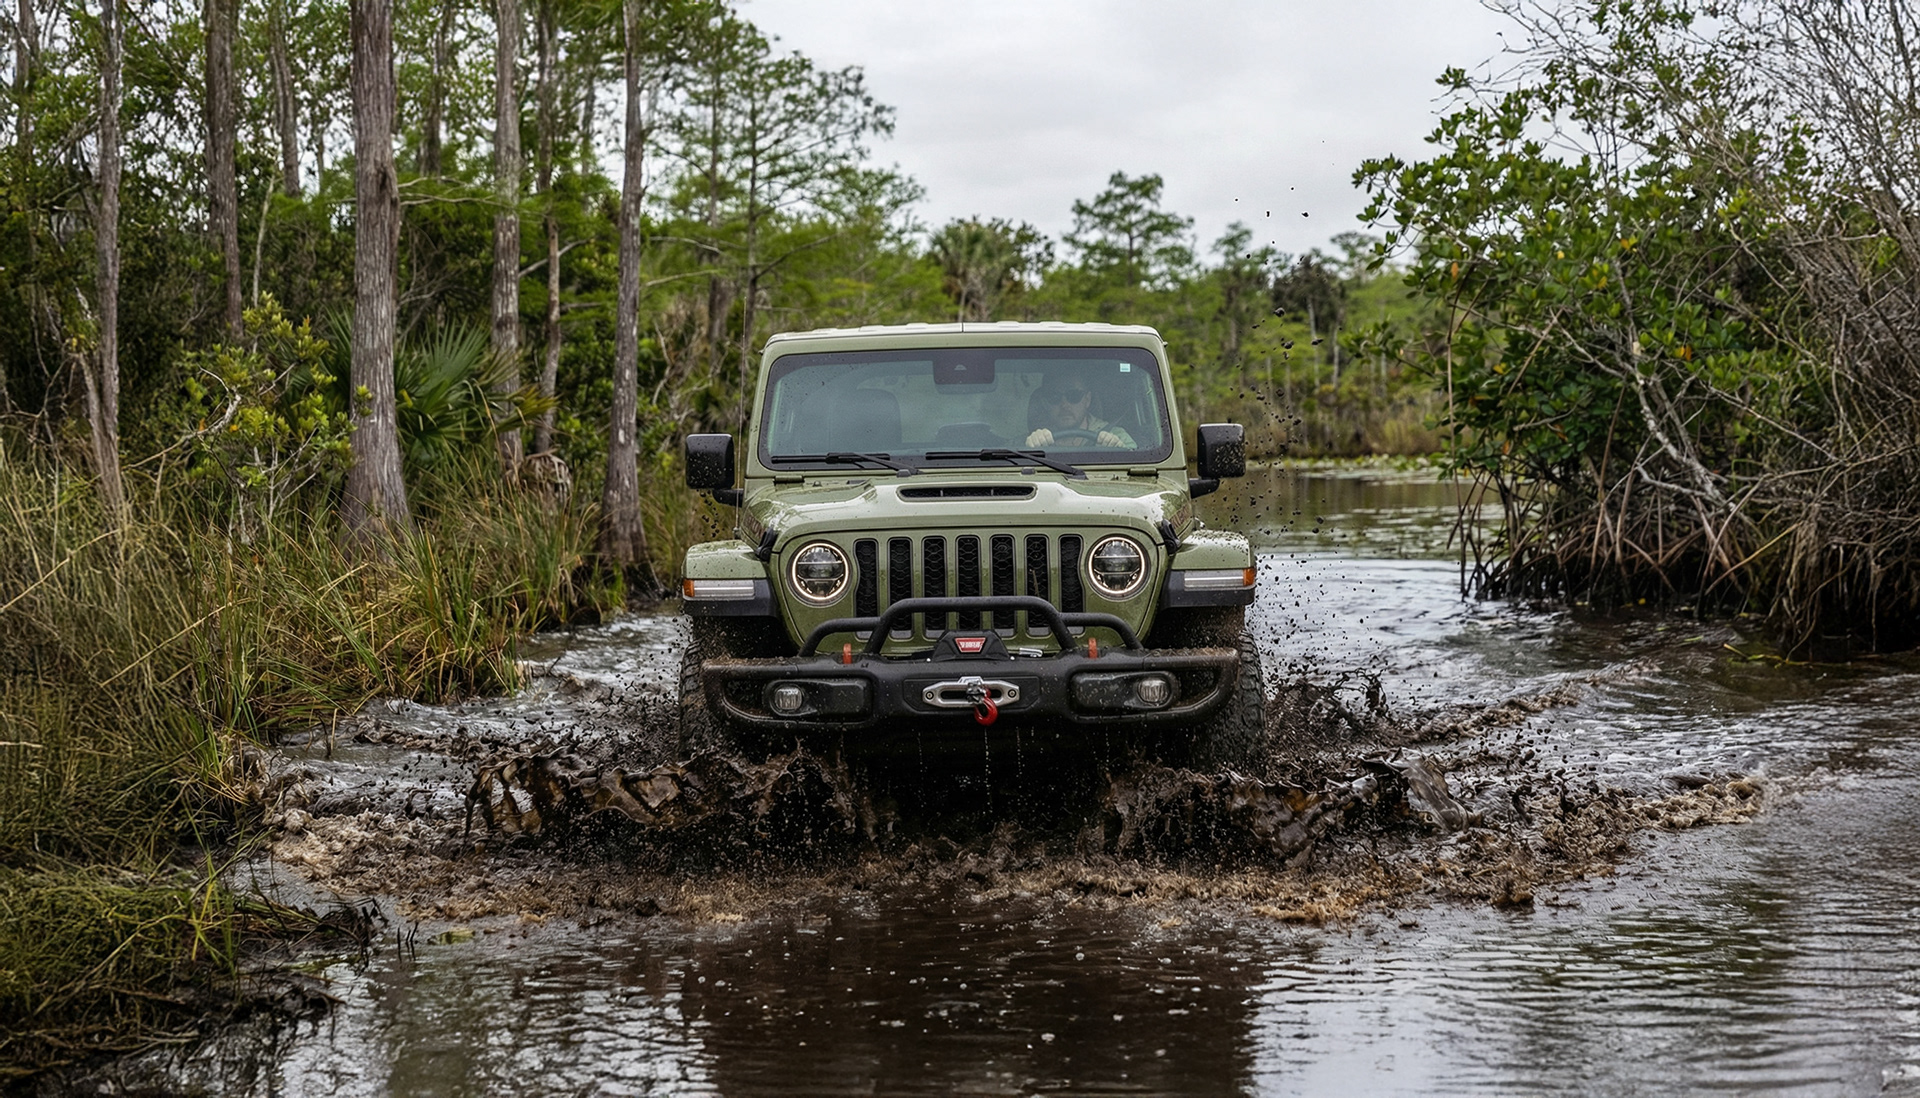
For the Jeep's action scenes, climbing varied hills and terrains, I created a single frame based on product images and prompted Nano Banana Pro to generate scenes of the Jeep ascending hills and traversing bogs, water, dirt roads, and snow-covered areas. I used a single prompt for the entire sequence, adjusting details as needed. For example, if the initial scene was in Death Valley National Park, I changed it to Olympic National Park and replaced features like dunes with a shallow river, dirt or snow-covered roads, or a boggy pond. I also directed the model to keep the Jeep in the same position and to maintain a consistent camera distance. To enhance detail, I asked that the driver remain visible and be naturally lit.
This was the template prompt I used, only modifying the location and elements in brackets:
“Use the attached image as a reference to create an action shot. Replace the [Death Valley] background and sand elements with those from [Monument Valley National Park], and have the Jeep driving [over boulders]. Keep the camera angle and distance exactly where they are. Keep the Jeep exactly where it is in the composition. Make sure a driver is somewhat visible in the car in a natural way. Only change the background and elements.”
Once all the action frames were ready, I imported them into Photoshop via Adobe Bridge as layers and used auto-alignment. After alignment, some areas needed filling, so I used Adobe Firefly and Generative Fill to complete the gaps.
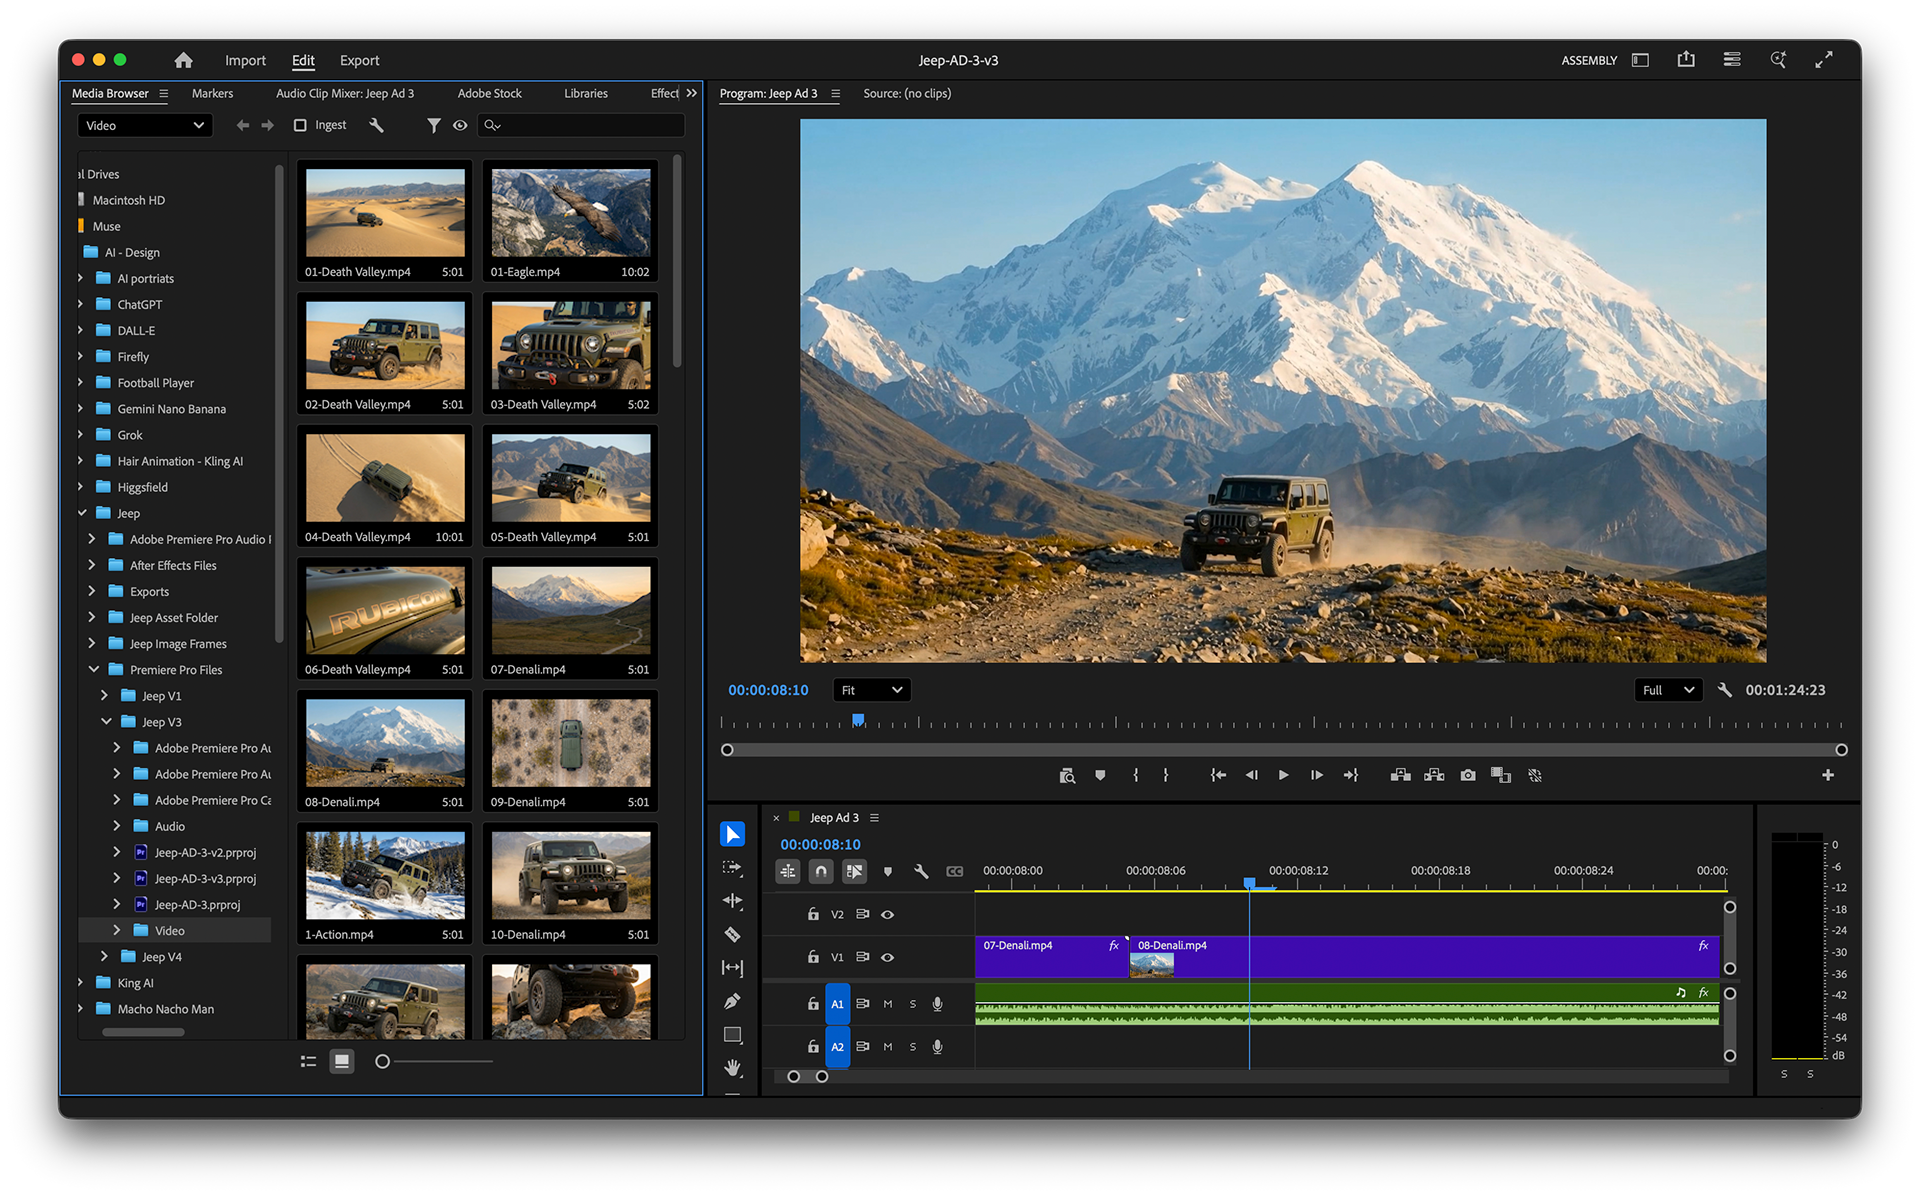
After completing the animation of all frames extrapolated from the 3x3 contact sheet, I experimented with the shot sequence in Premiere Pro. I assembled a loose edit that reflected my vision and storyboard for the advertisement's flow, then moved on to the next AI tool, Suno. Initially, I chose a different soundtrack for this ad after analyzing the Jeep brand and reviewing how they composed their advertisements. I aimed for the ad to feel like a major cinematic unveiling, with a dramatic soundtrack featuring punchy percussion and a modern, environmental soundscape of wind and other natural sounds.
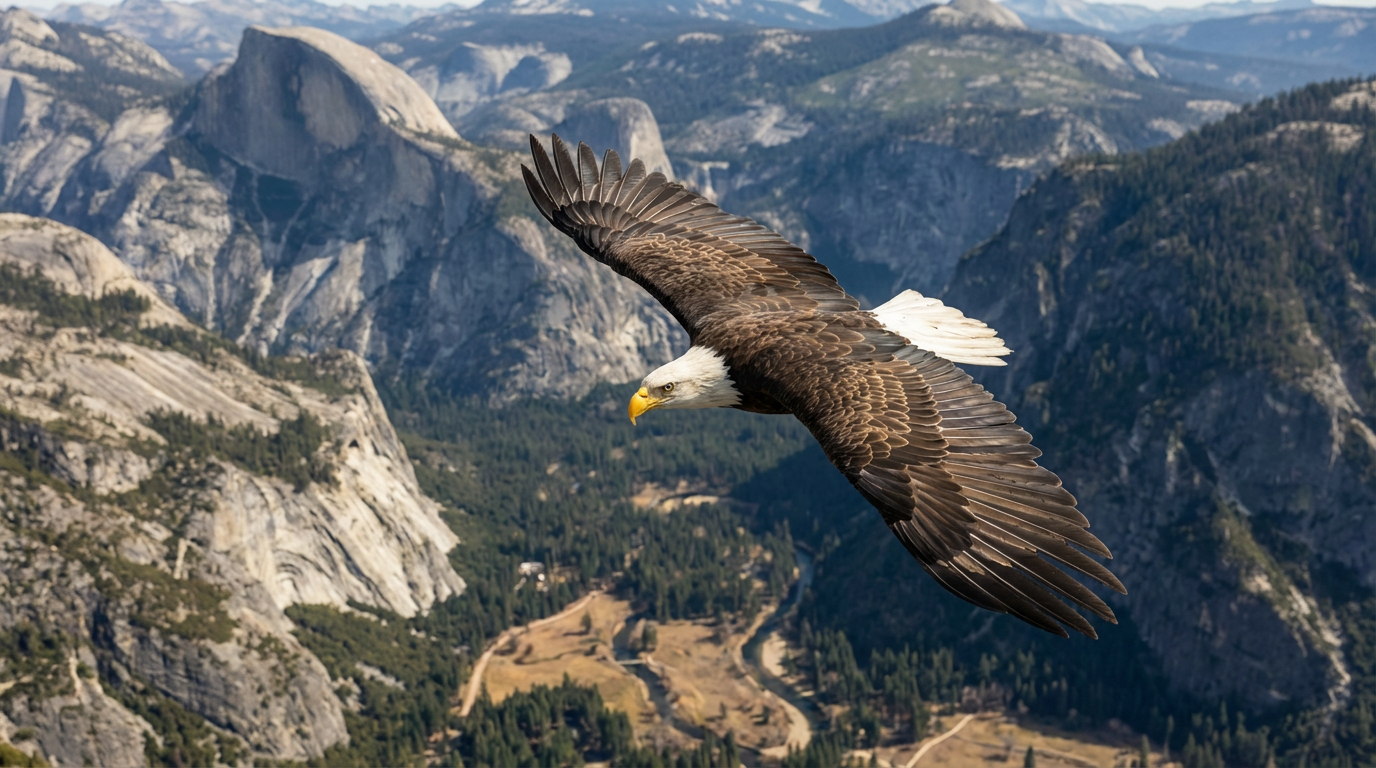
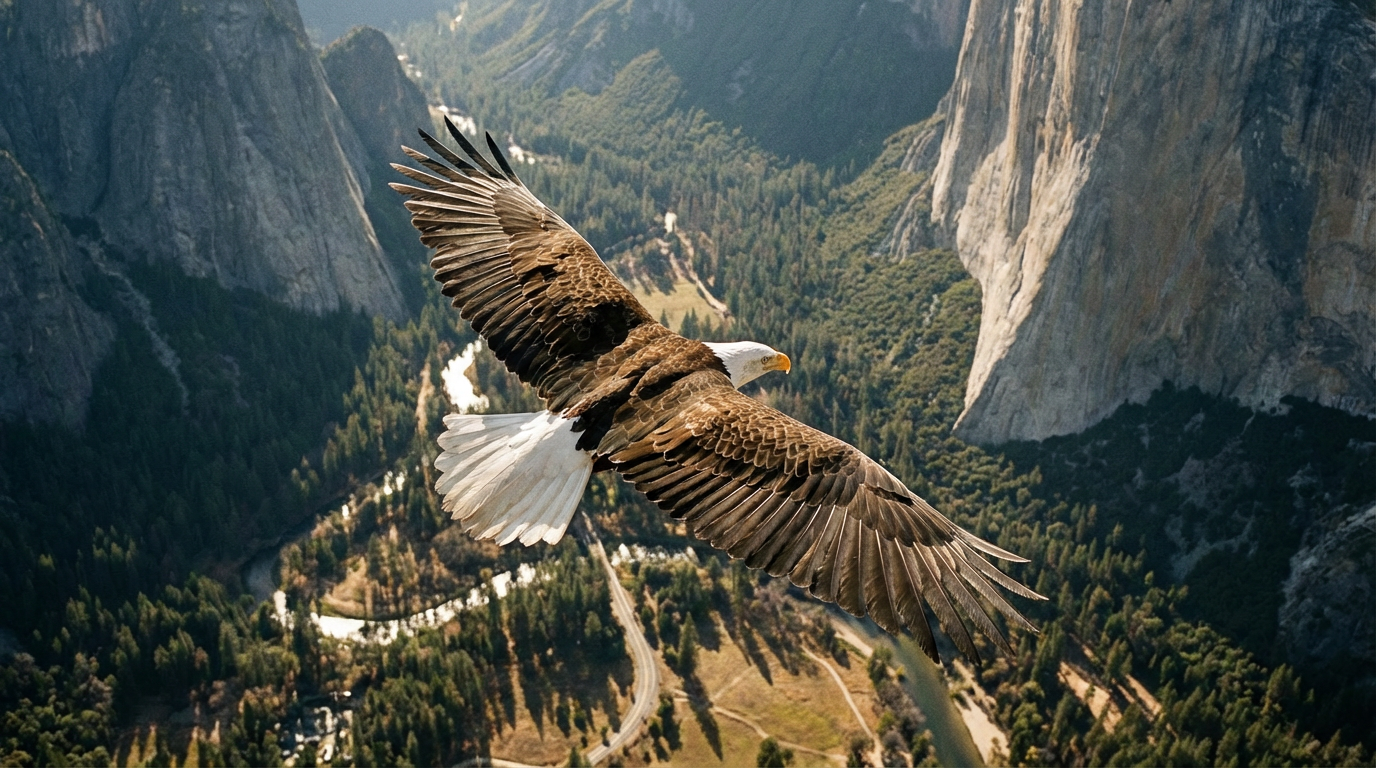
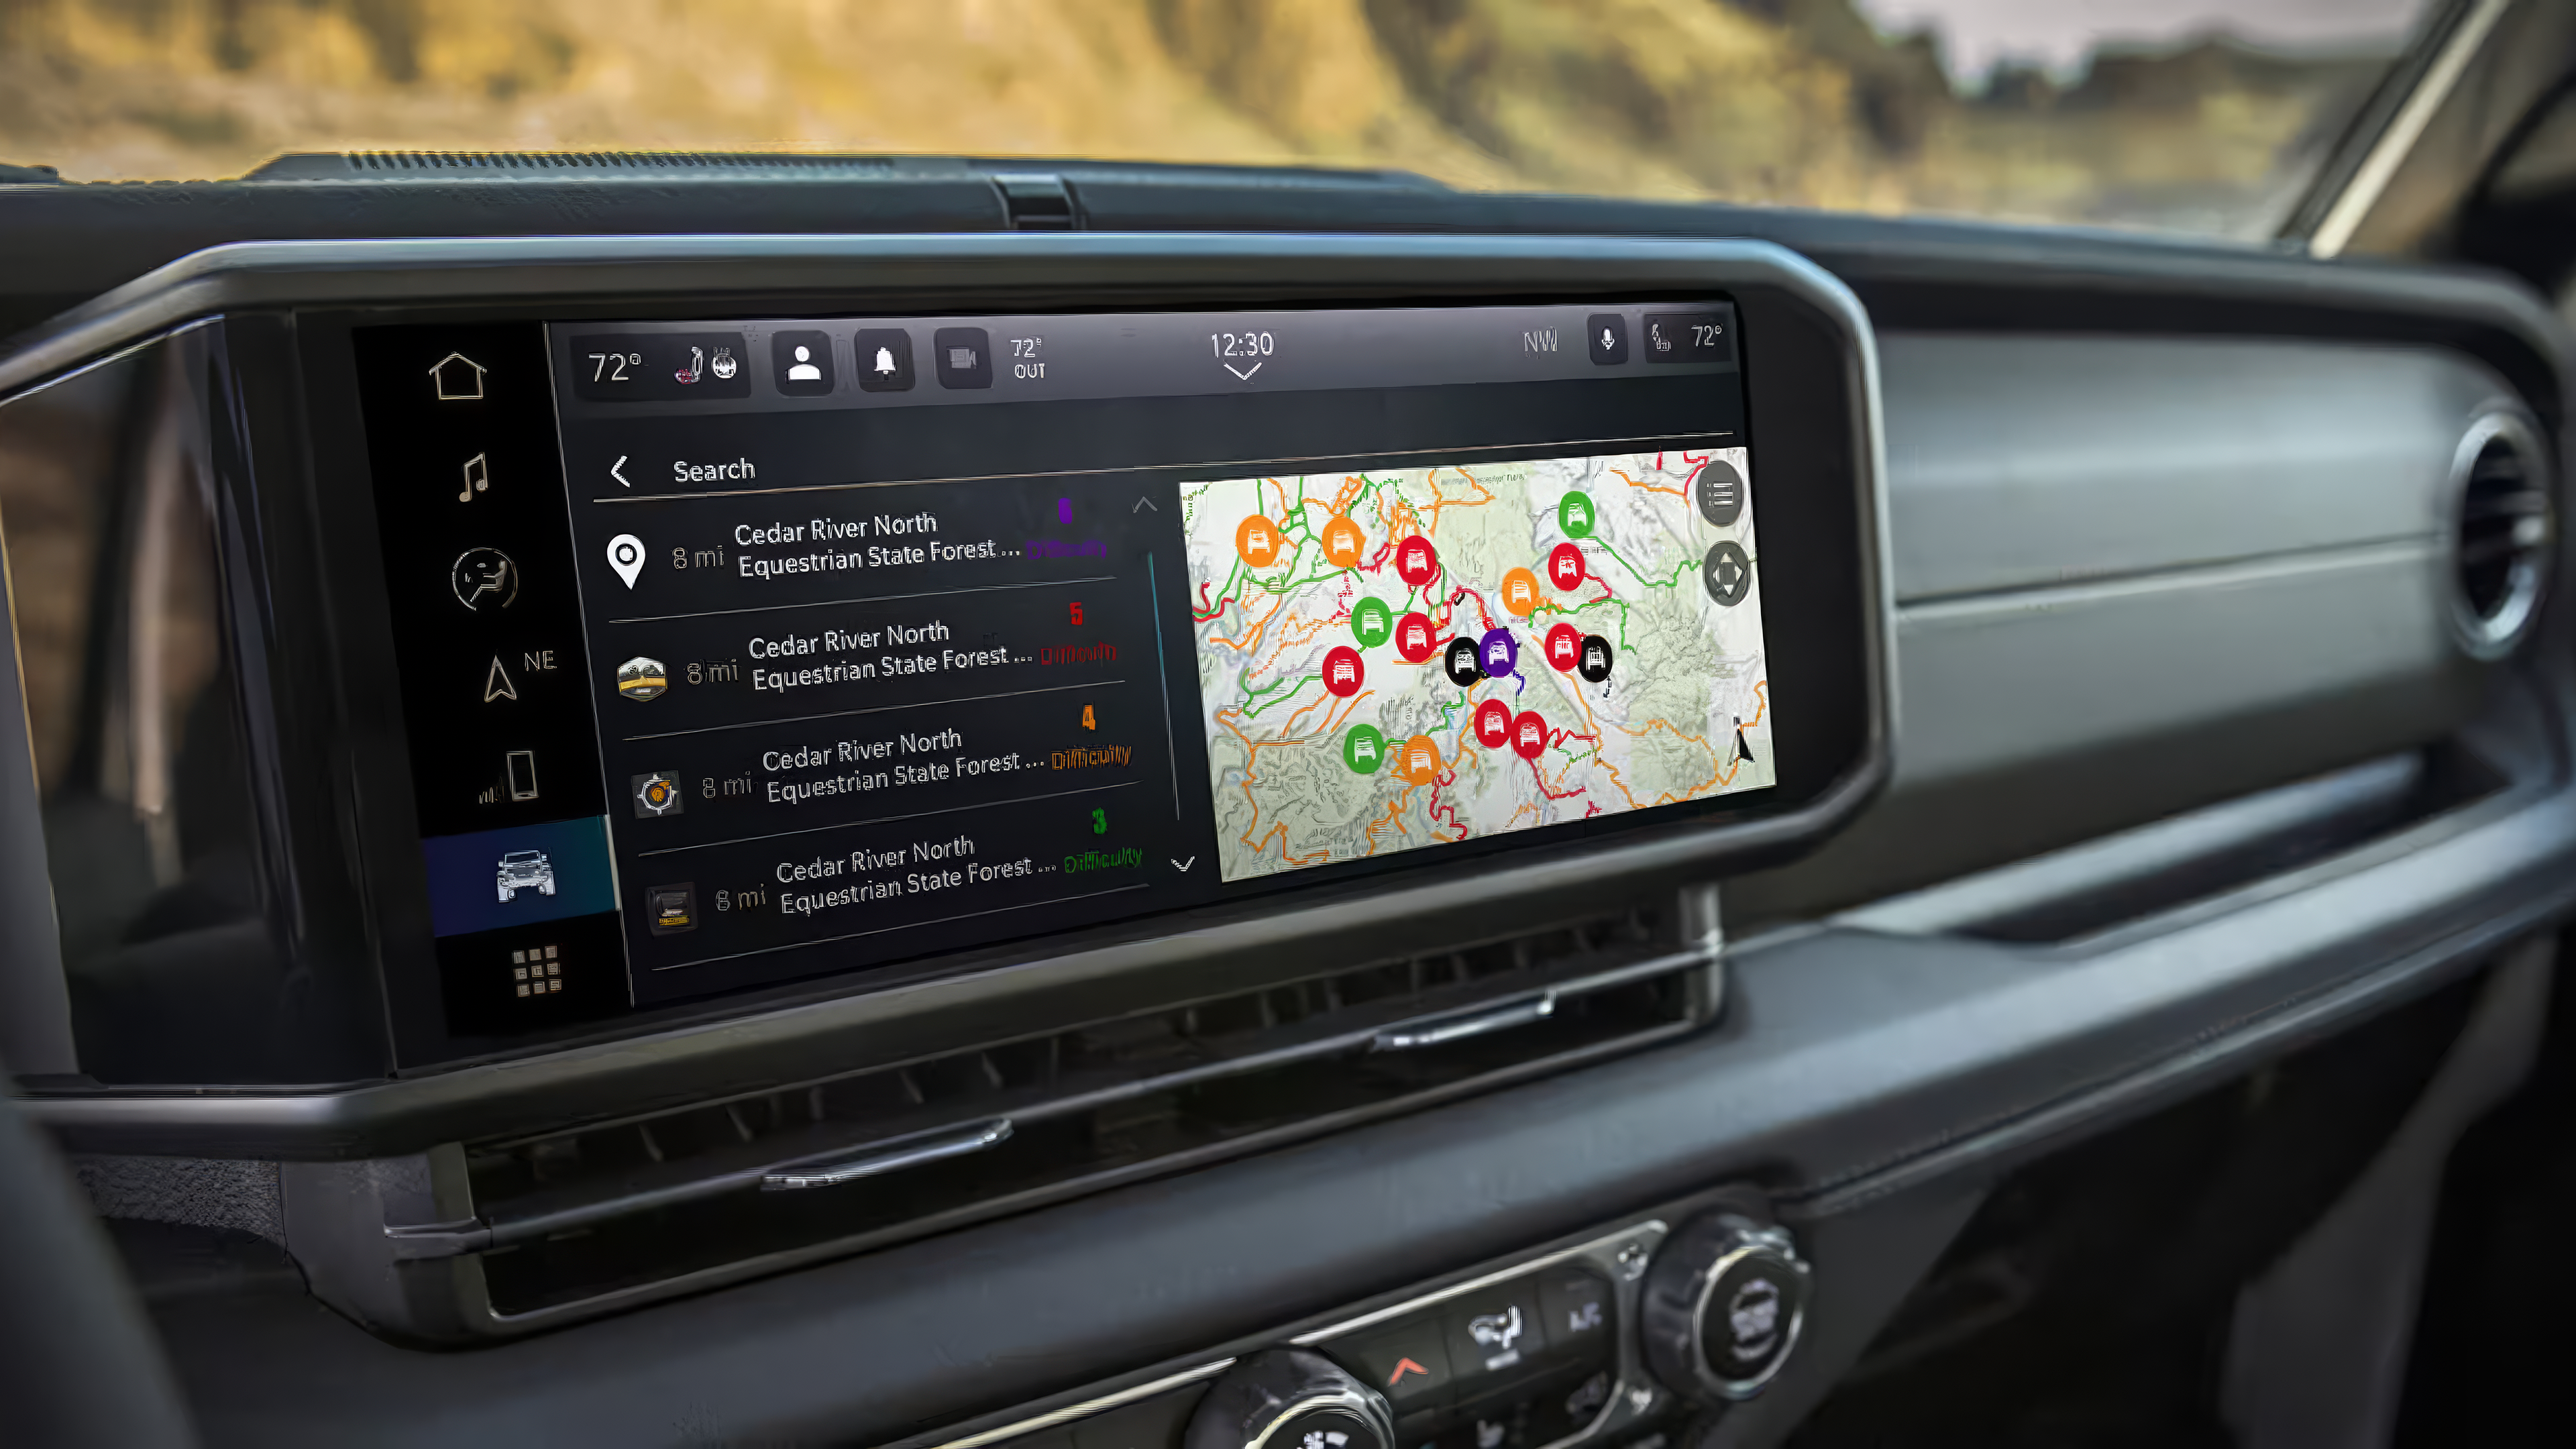
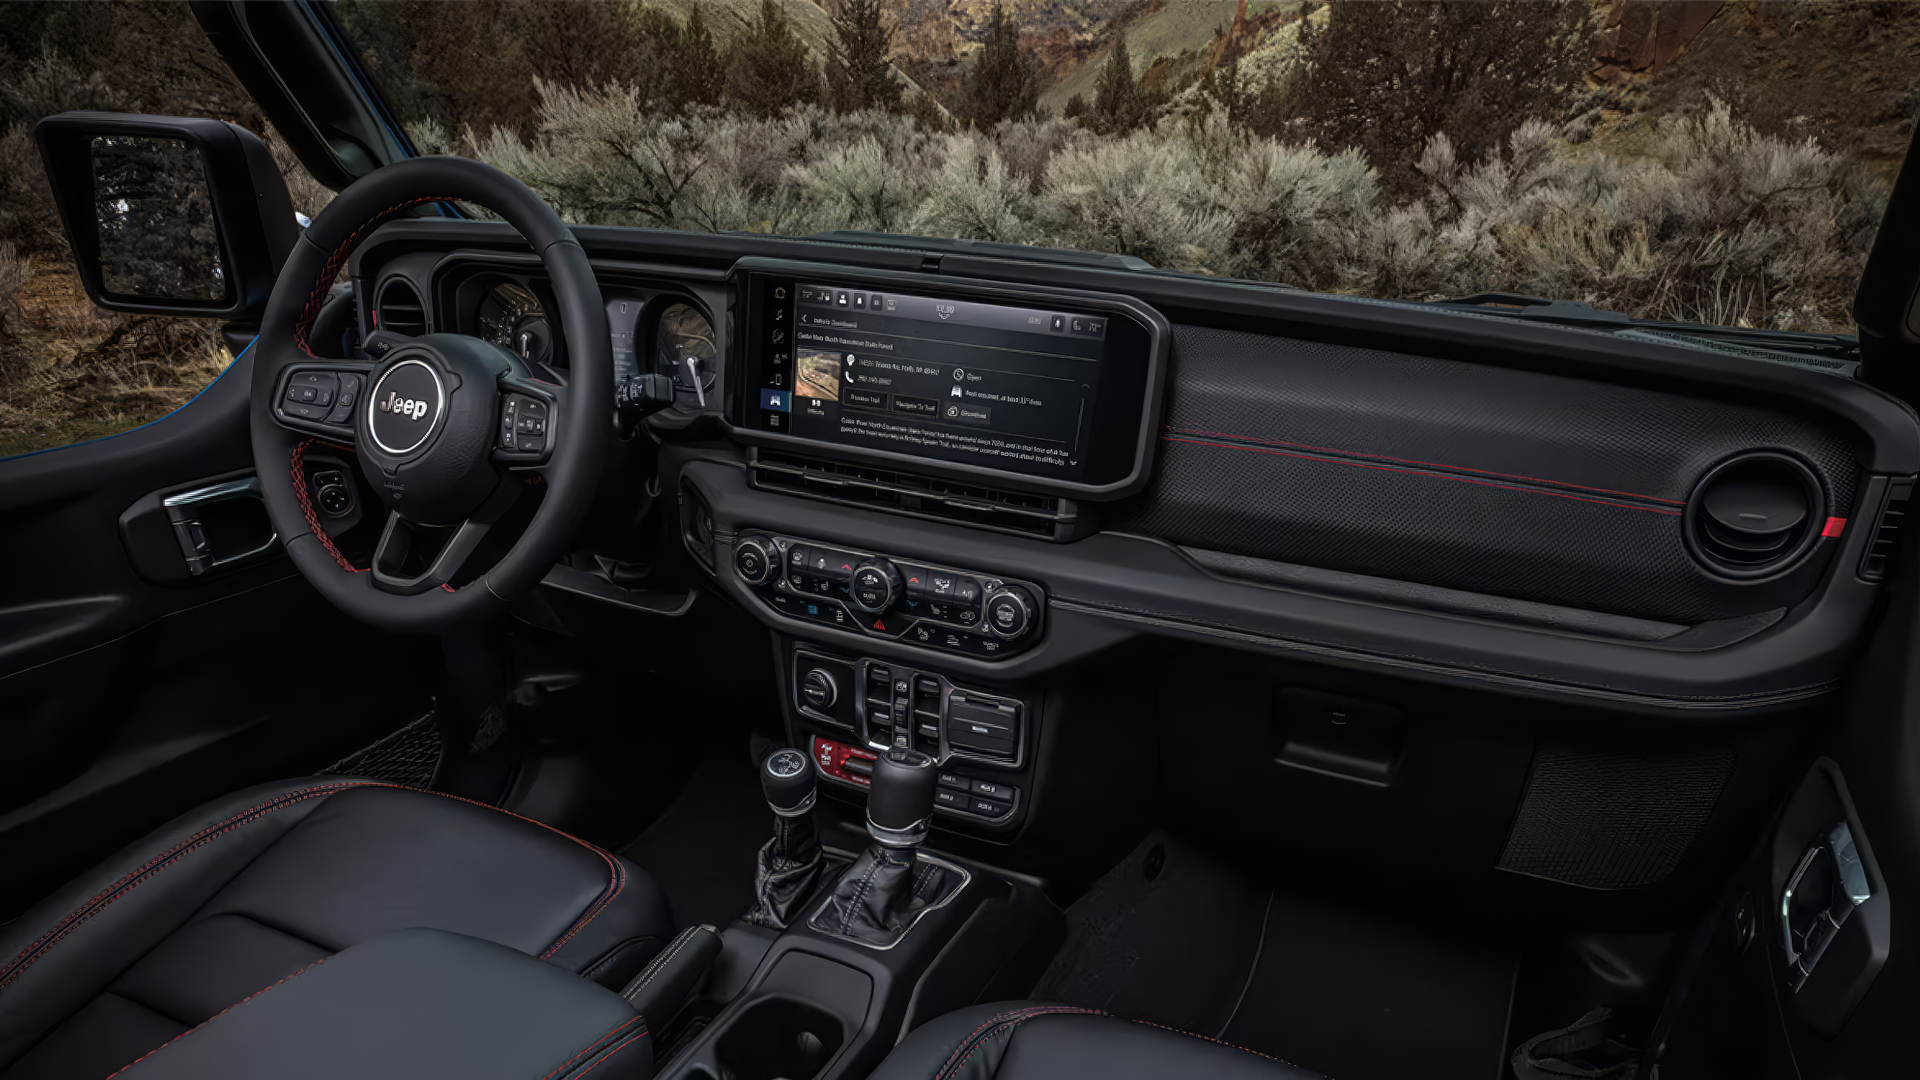
To add more detail and variety to the ad, I included a Bald Eagle flying over Yosemite National Park to better tie in with the National Park theme. Additionally, I wanted to feature some interior details, so I used interior shots from the Jeep website for that model to help tell a better story.
In Suno, I prompted: “Cinematic new-age score with evolving orchestral swells, distant choirs, and low drones. Binaural design: wind and creaks travel around the head; rumbling sub textures anchor the center. Quiet, intimate sections with sparse strings and soft chimes give way to explosive brass and percussion hits, punctuated by brief, unnerving silences.” Thinking about how I wanted the soundtrack to sound, I modified the prompt several times before arriving at one I was happy with. This process also involves a few variations. Using the Edit feature in the Pro version of Suno can help you refine the track to the exact mix for the final video.
Lastly, in Premiere Pro, I imported the WAV audio file of the soundtrack and began working on the overall pacing of the video and syncing with the audio, positioning each video clip to match the percussive hits in the soundtrack with the changing shots, adding fade-in and fade-out effects at the end, and adjusting the levels to ensure the sound is right.
In conclusion, my AI process includes both new generative AI tools and traditional Adobe tools to help put together a story. AI is not something that will replace videographers or designers; however, it is a tool that can help build social and traditional/television media content without the need for excessive budgets. Additionally, depending on the company culture, it can at least be used as a prototyping tool to ensure art direction on actual shoots. I think generative AI will improve over time, and just as film photography became a widely accepted medium, so will generative AI. I encourage anyone to just have fun and create something with it.